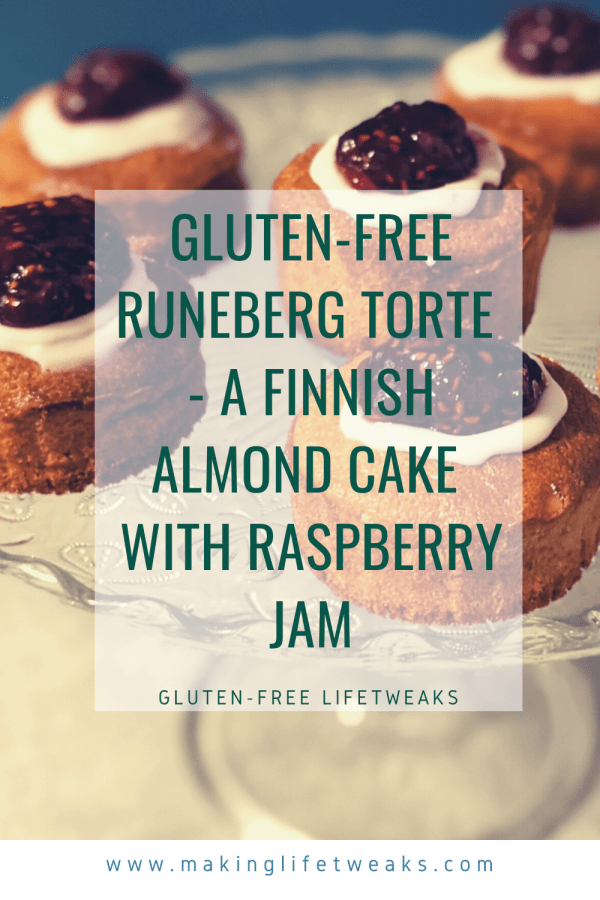
On 5th February, Finland celebrates their national poet Johan Ludvig Runeberg with a dedicated almond flavoured cake. I had never done these, so adapted a version of my own from a Finnish gluten-free recipe by Valio. I want to share the recipe, as I think they turned out great and I am sure you might enjoy the crunchy bits of almond and sweet raspberry jam on top. If you are partial to a bit of alcohol in a bake, you can drench these in a sugar syrup with almond liqueur, cognac or rhum, or for non-alcoholic version flavour the syrup with a few drops of (bitter) almond extract. Originally I prefered not to soak the cakes but over the years I actually do like the syrup soaking part. I would be interested to hear which way you prefer them!
My adaptations
GF Flour mix: Since the original recipe is Finnish, the gf flour mixture isn’t available in the UK, where I am. There’s no reason you couldn’t still enjoy the torte where ever you are in the world – use any gf plain flour mix, just be mindful that it can change the end result a bit for GF flour mixes differ from each other. If you are using self-raising gf flour, you can leave the baking powder out. I haven’t use psyllium husk or xanthan gum in this updated recipe (updated February 2022) so if your flour mix has either in, you might find the batter becomes slightly stiffer but should still make a nice cake.
I avoid corn and rice, so my GF flour mix was half potato starch and half tapioca starch, which I found worked well. As starch flours are lighter than some other gluten-free flours, I used slightly less flour in total than I would have used if it was a plain GF flour mix like Doves farm here in the UK. You will see a note of that annotated with a * in the ingredients.
Using yoghurt instead of cream: The original Runeberg’s torte/cake has cream as liquid. I feel yoghurt lightens the texture of the cake and gives it more moisture, which is always beneficial in gluten-free baking, so I use plain yoghurt instead. If you want to make yours dairy free, you can use a dairy free yoghurt alternative. You can also use dairy free baking block instead of butter for dairy free.
Take note that the dairy free options might have a bit more water in and give a thinner batter. You can add a bit more flour mix in if the batter feels very runny (see caption for details).
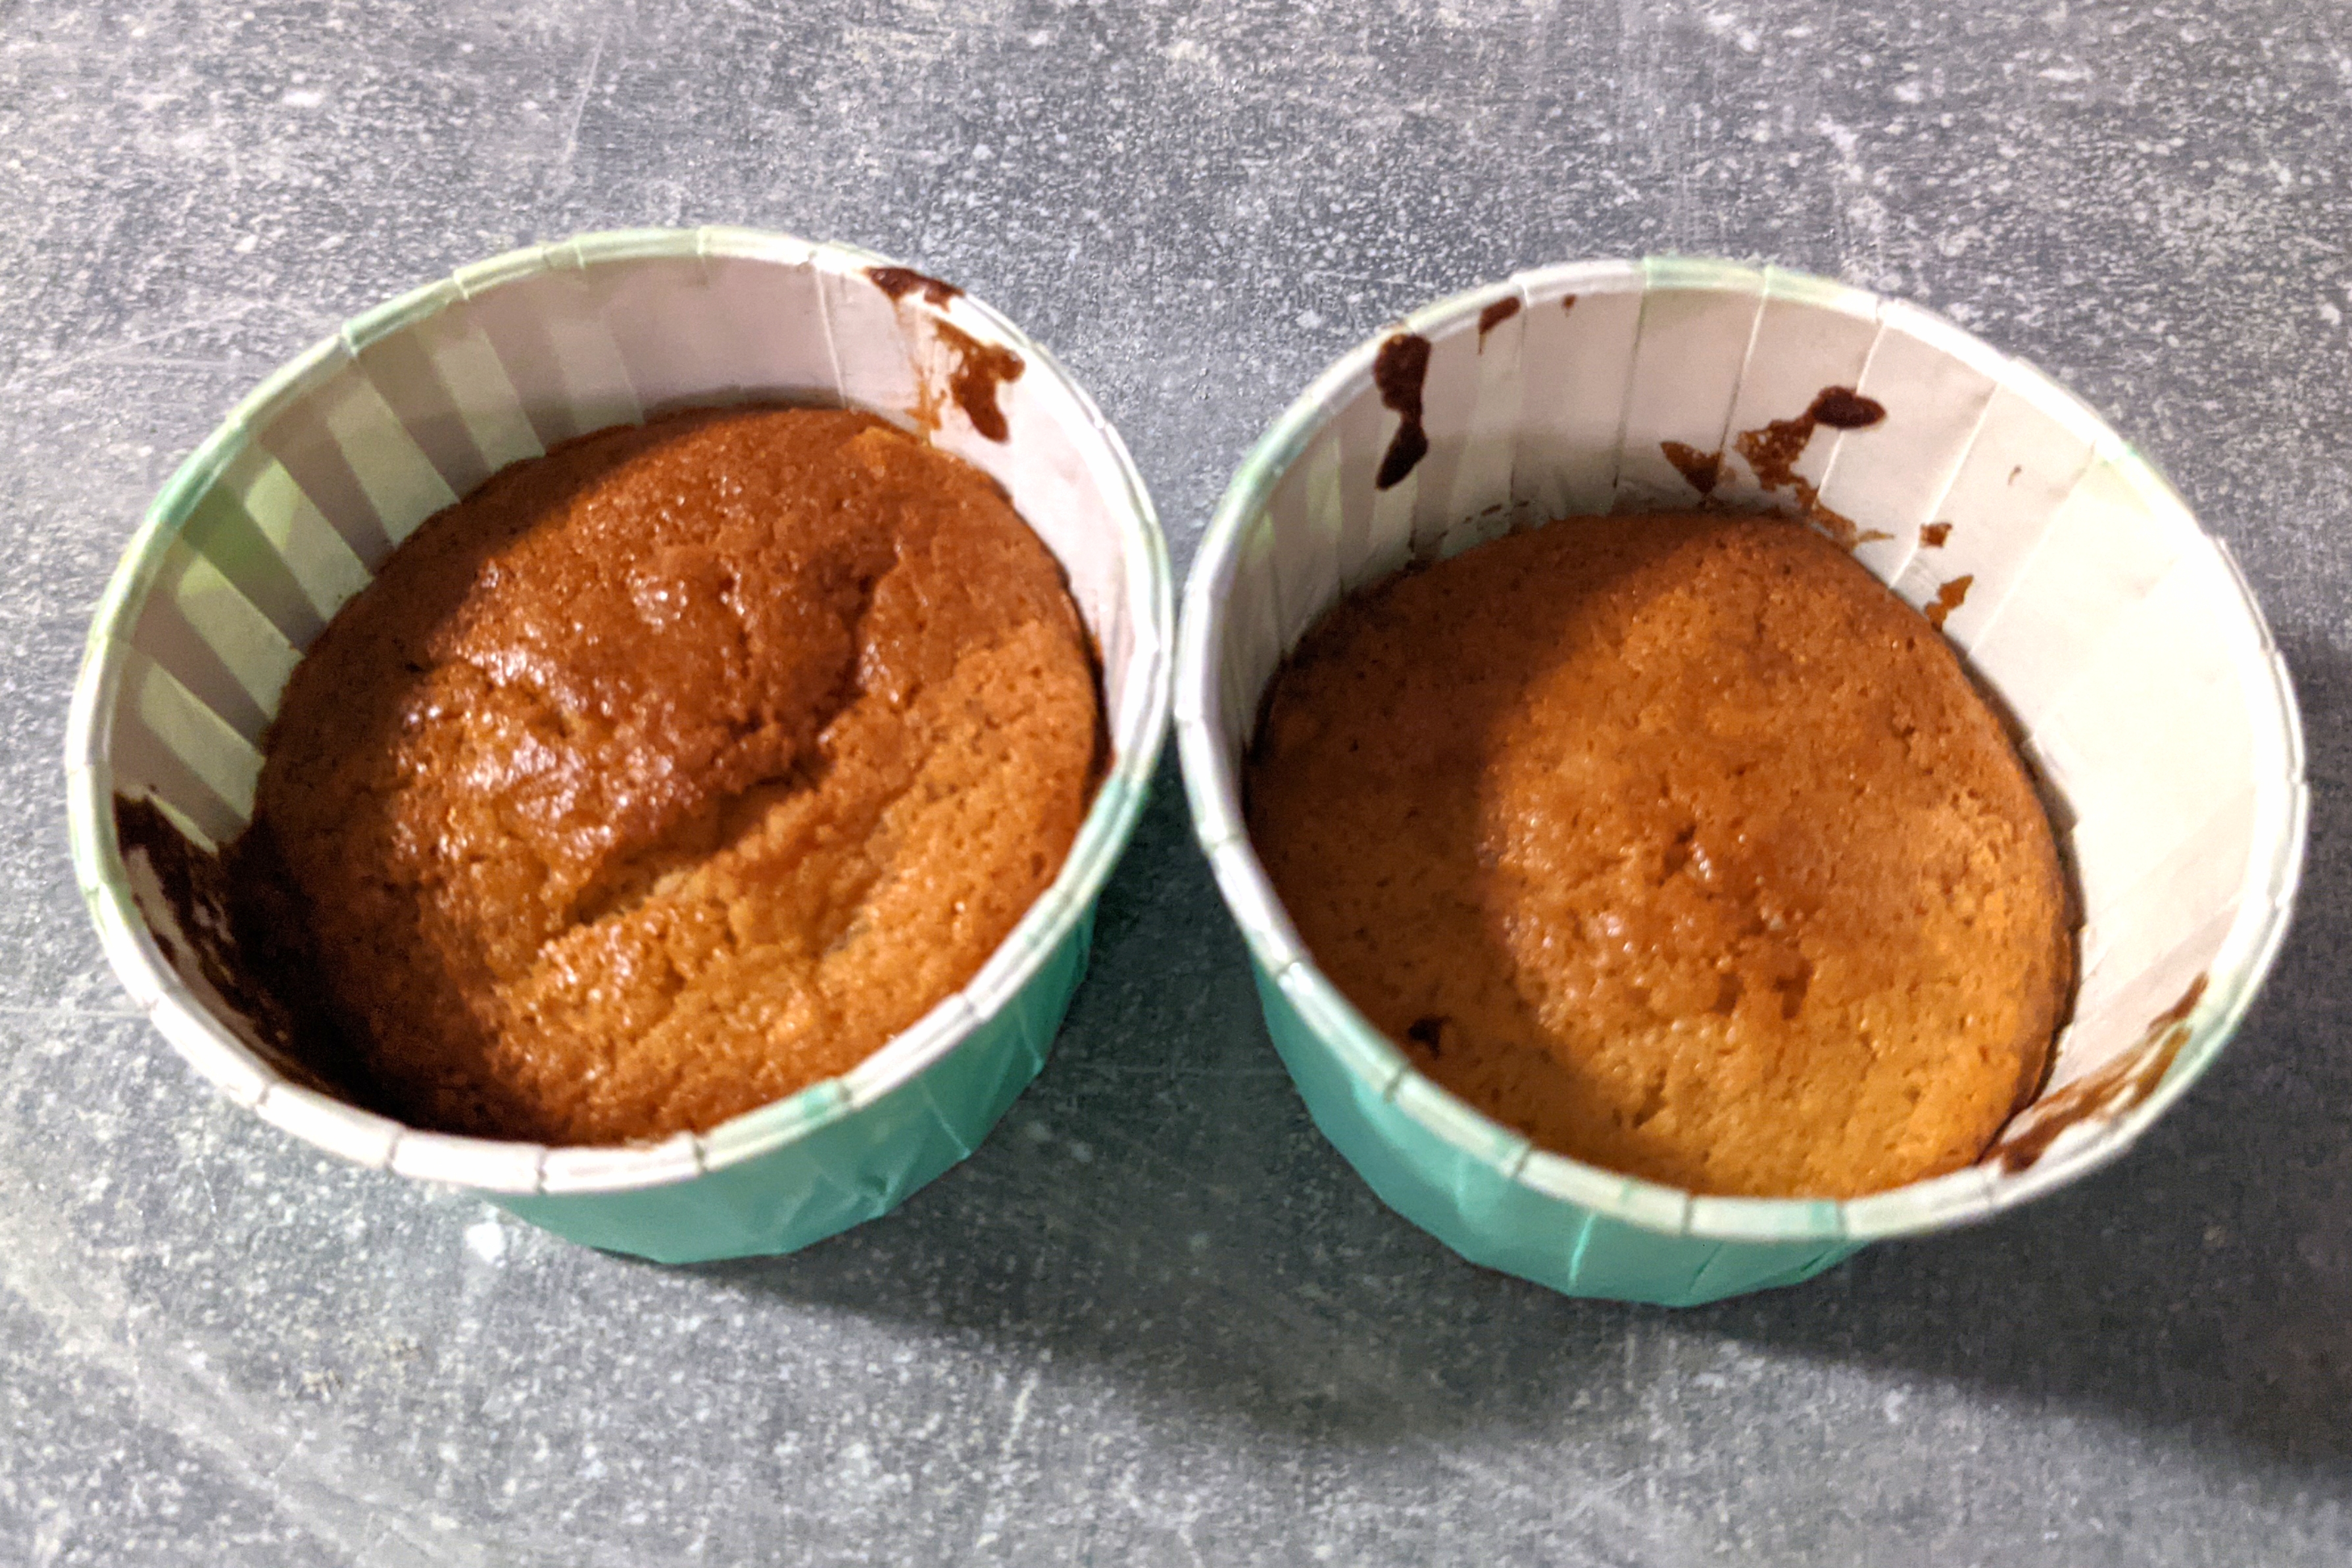
Adding jam inside the cake before baking: I have edited the recipe in February 2022 as I came across a version of the cakes where you add some raspberry jam in the middle of the cake before baking, which I think is delicious and makes a more succulent cake. Hence I have added another optional step 9. into the recipe and there is jam both in the cake section and in the toppings. You will not see the jam in the picture of the uncoated cakes, but you try whichever one you like and use more jam on top if you didn’t add any in the middle.
What if I don’t have both types of sugars: If you haven’t got both plain sugar and muscvado (or light brown cane) sugar, feel free to use either or. This will mainly affect the colour of the cake and muscvado sugar will give the tortes a more caramel-like flavour.
Gluten-free Runeberg Torte recipe:
The recipe is quite straightforward. It will take you about 30min to make if you need to chop your own almonds and grind cardamom. Overall with baking and cooling, you should be enjoying these in 1-2 hours depending on the size of cake. If you want to moisten these with syrup, you want to give them a couple of hours to soak up the liquid, I don’t feel gluten-free cakes need hours to soak in the syrup.
The recipe makes 5-6 large tortes and 10-12 smaller ones if you use fairy cake casings.
Ingredients:
Cake
| 100 g | softened butter (or dairy free margarine ‘baking block’) |
| 50 g (50ml) | granulated sugar (or caster sugar) |
| 50 g (50ml) | light muscvado sugar |
| 1 | egg |
| 110g* (150ml) | gluten-free plain flour mix (omit baking powder if using self-raising gf flour) (*I used a 50/50 mix of potato starch and tapioca starch 35g tapioca starch + 50g potato starch) |
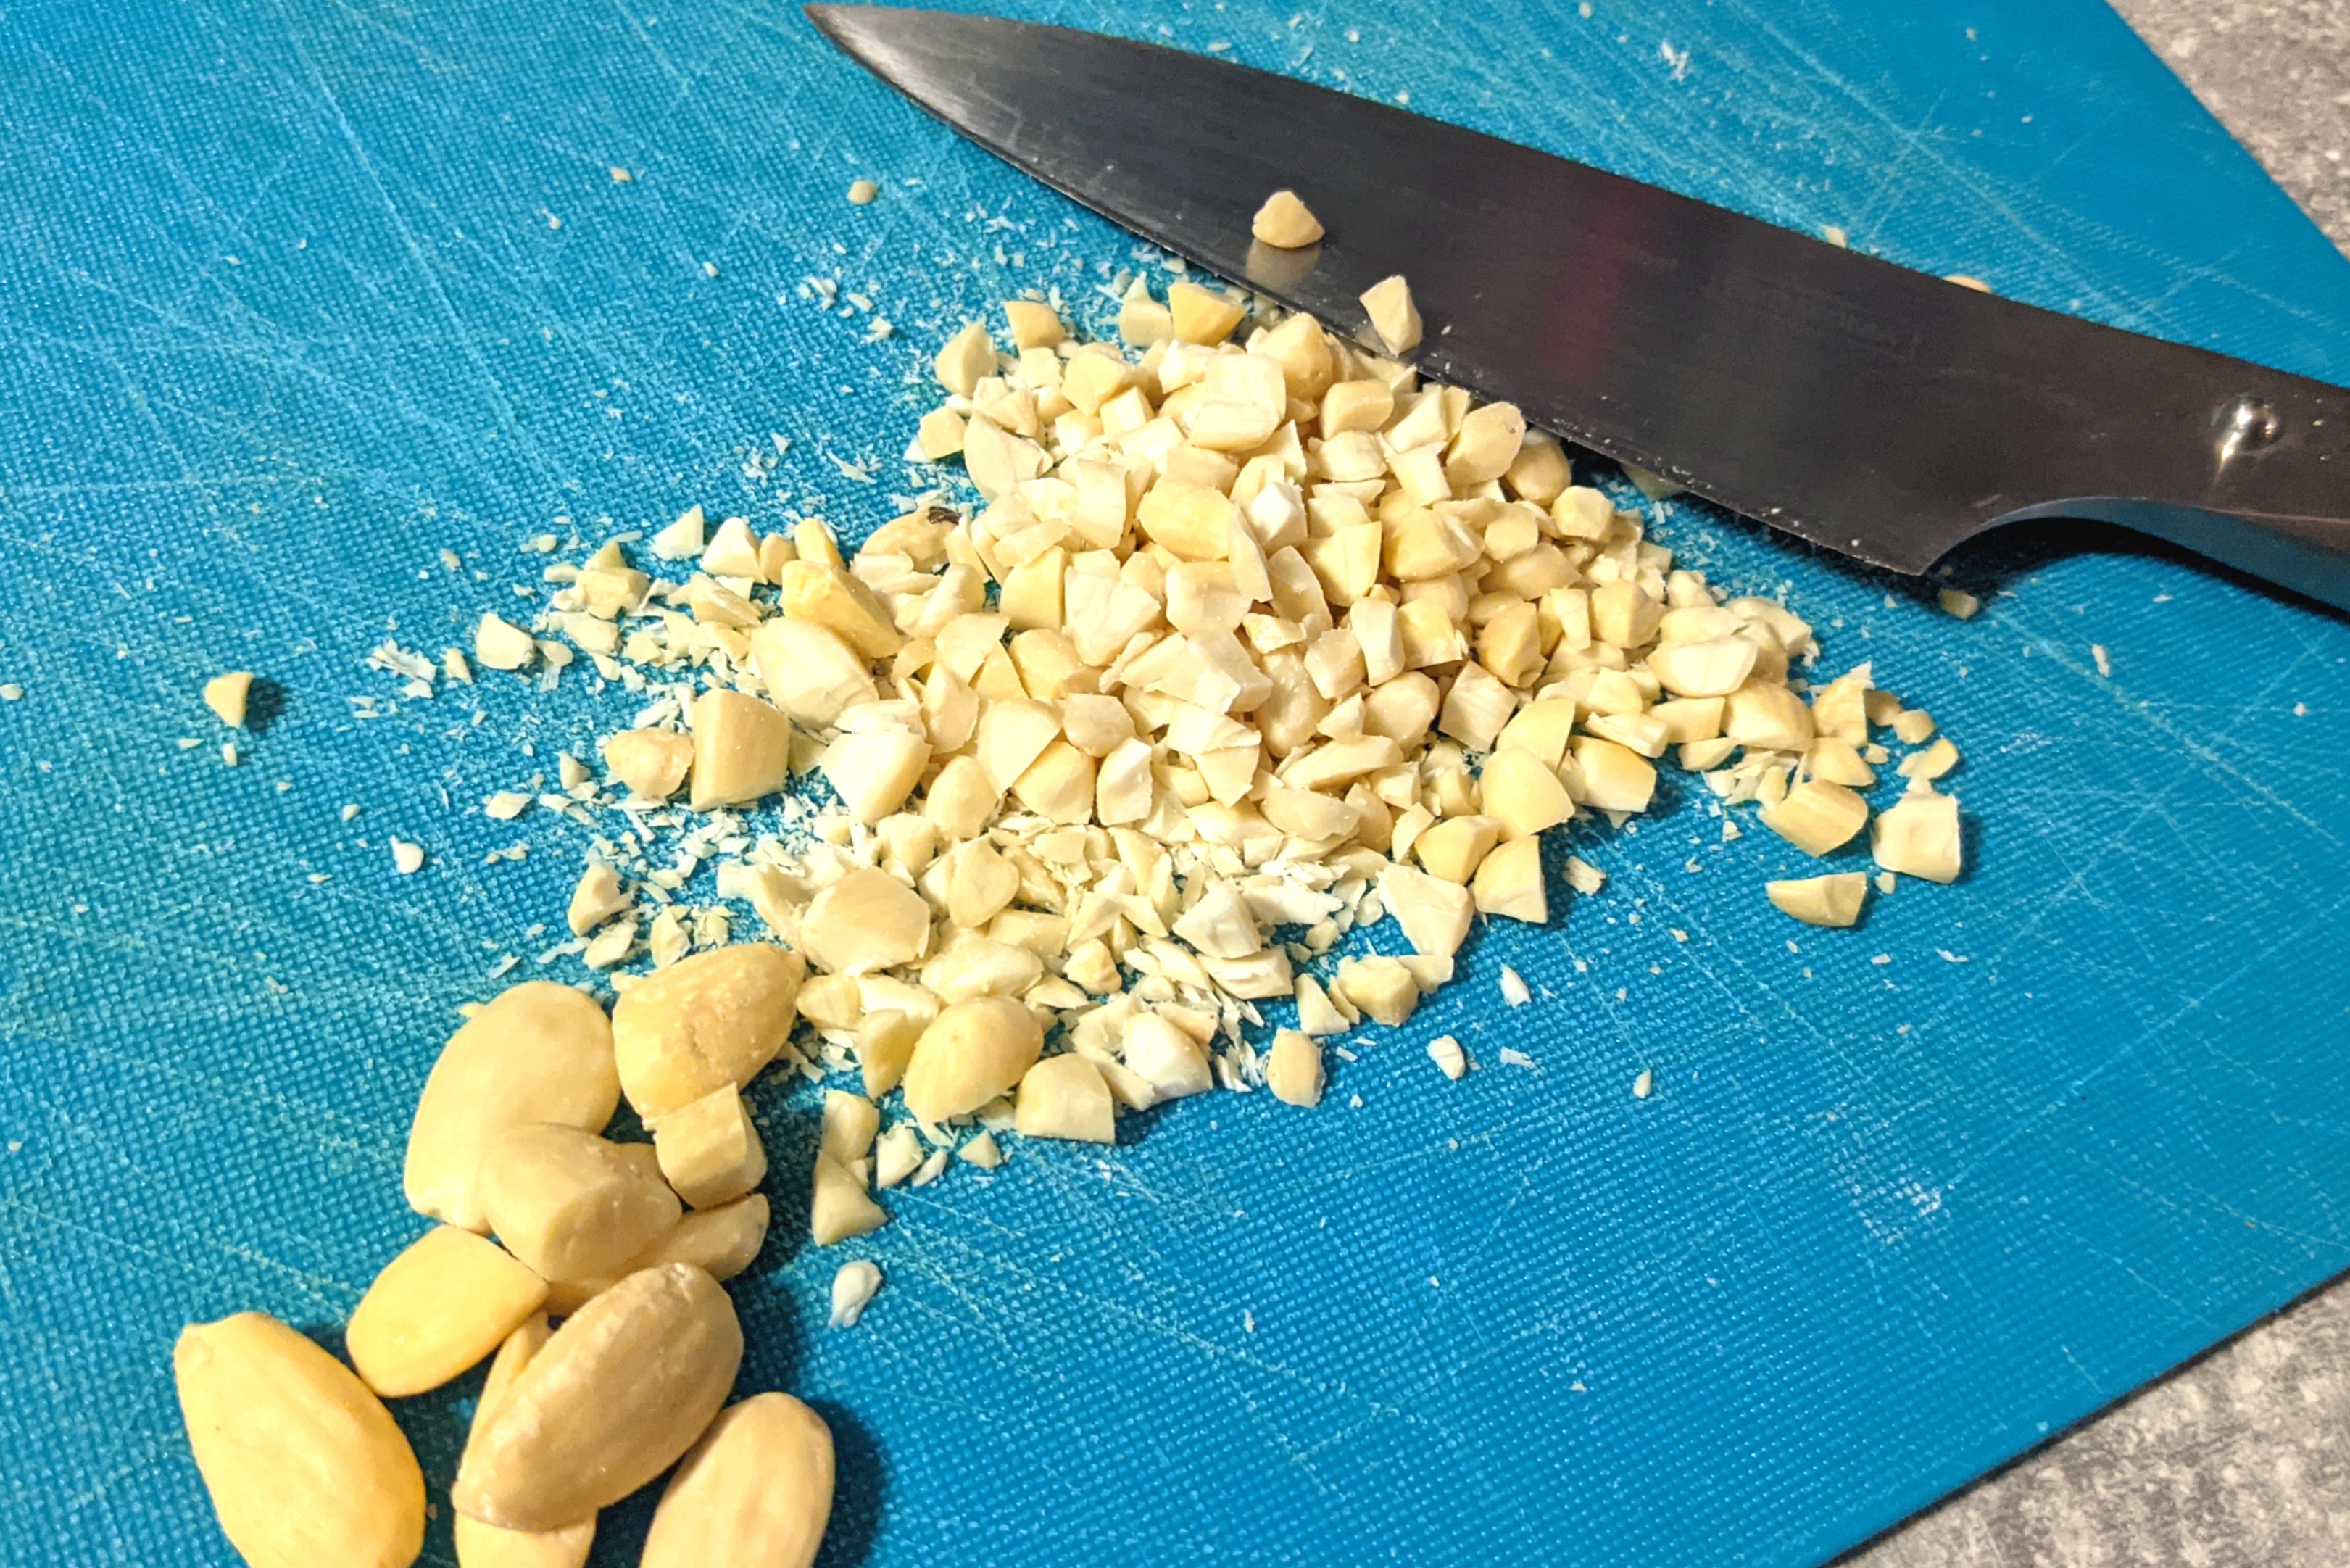
| 45g (75ml) | chopped almonds |
| 5g (1 tsp) | gluten-free baking powder |
| 1-2g (0.25tsp) | ground cardamom (I used a few cardamom pods without husks and ground with mortar and pestle) |
| 110g (100ml) | plain yoghurt (dairy free option can be used) |
| 100g (about tbsp each cake) | raspberry jam |
Ingredients for syrup (optional but highly recommended)
| 2tbsp | hot water |
| 1 tbsp | caster sugar |
| 2 tbsp | rum, cognac or almond liqueur (for alcohol-free you can use 4tbsp of water and a few drops of (bitter) almond extract |
Ingredients for icing and topping
| 1/2dl | icing sugar |
| appr. 1tsp | cold water |
| appr. 50g (1tsp each cake) | raspberry jam |
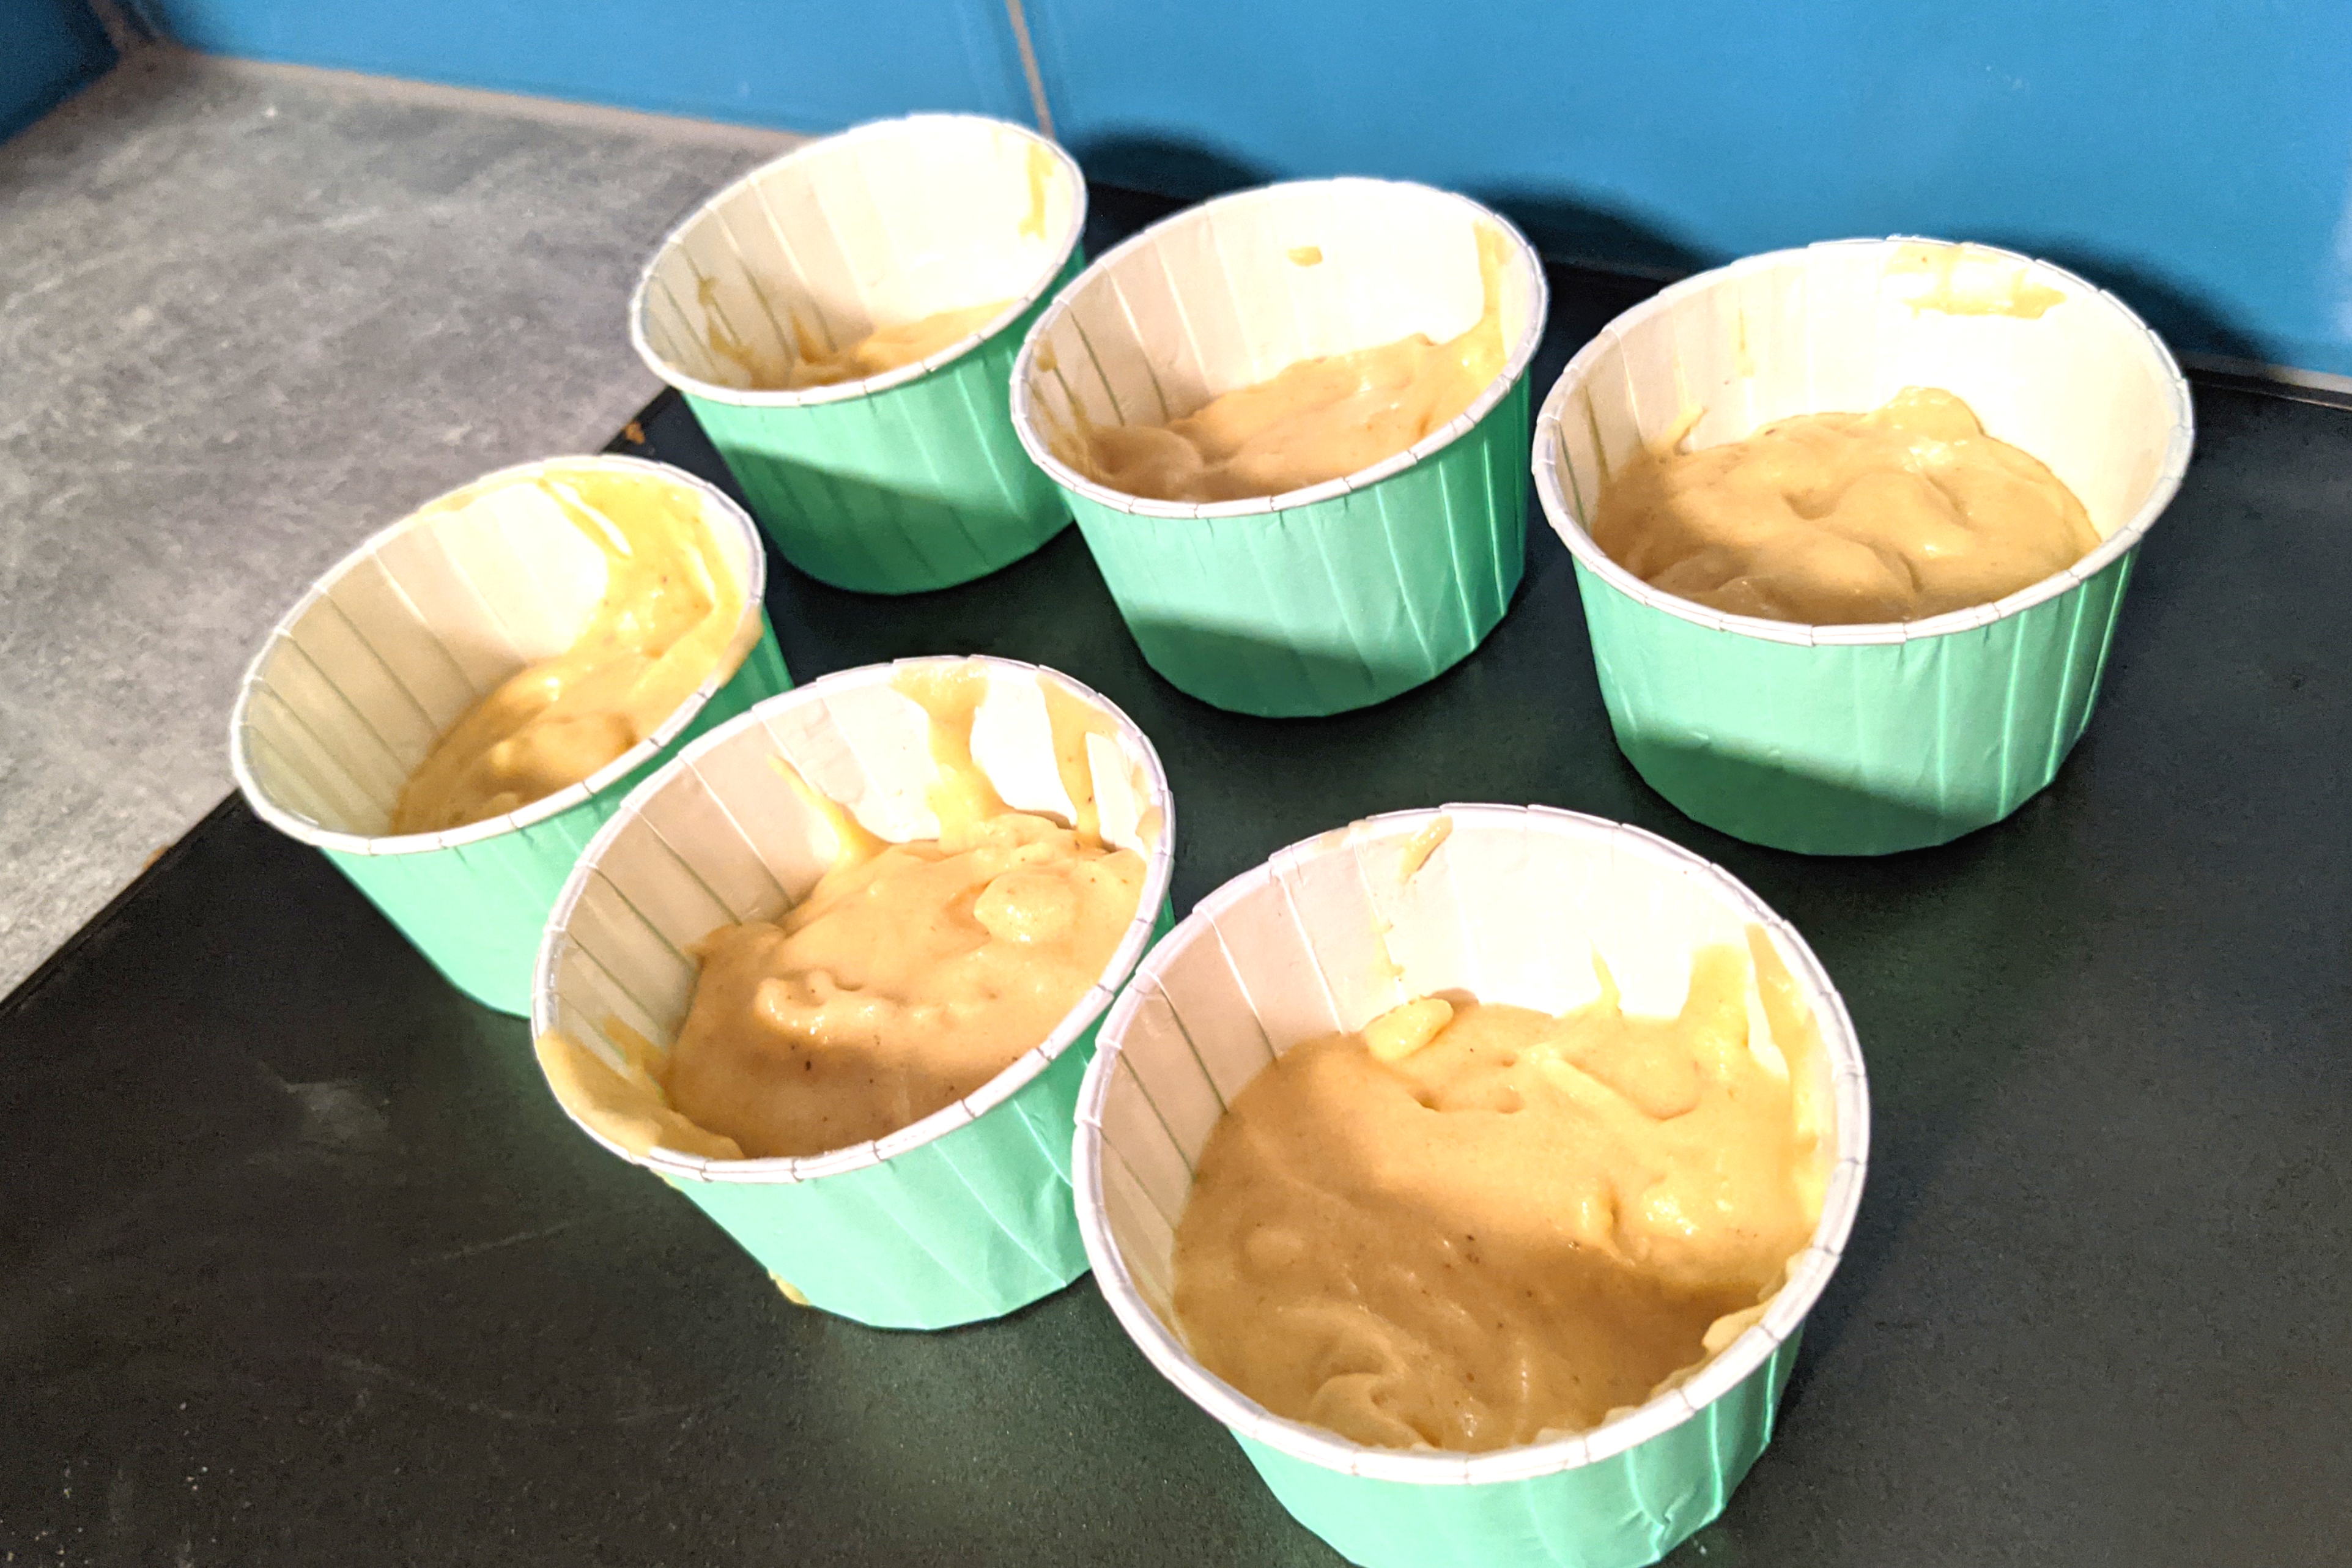
You need non-stick cupcake casings or fairy cake casings (6 large ones, 12 smaller ones). If you use a muffin tray or regular casings, you need some extra fat to grease them and some ground almonds or gf breadcrumbs to flour the muffin tin to keep them from sticking. If you can, use sturdied casings as the batter is quite heavy. When using lighter fairy cake casings, it is a good idea to support them in a muffin tray if you have one or use two casings on top of each other instead of just using one for some extra support.
Method:
- Turn your oven on to 200C/180C (fan assisted).
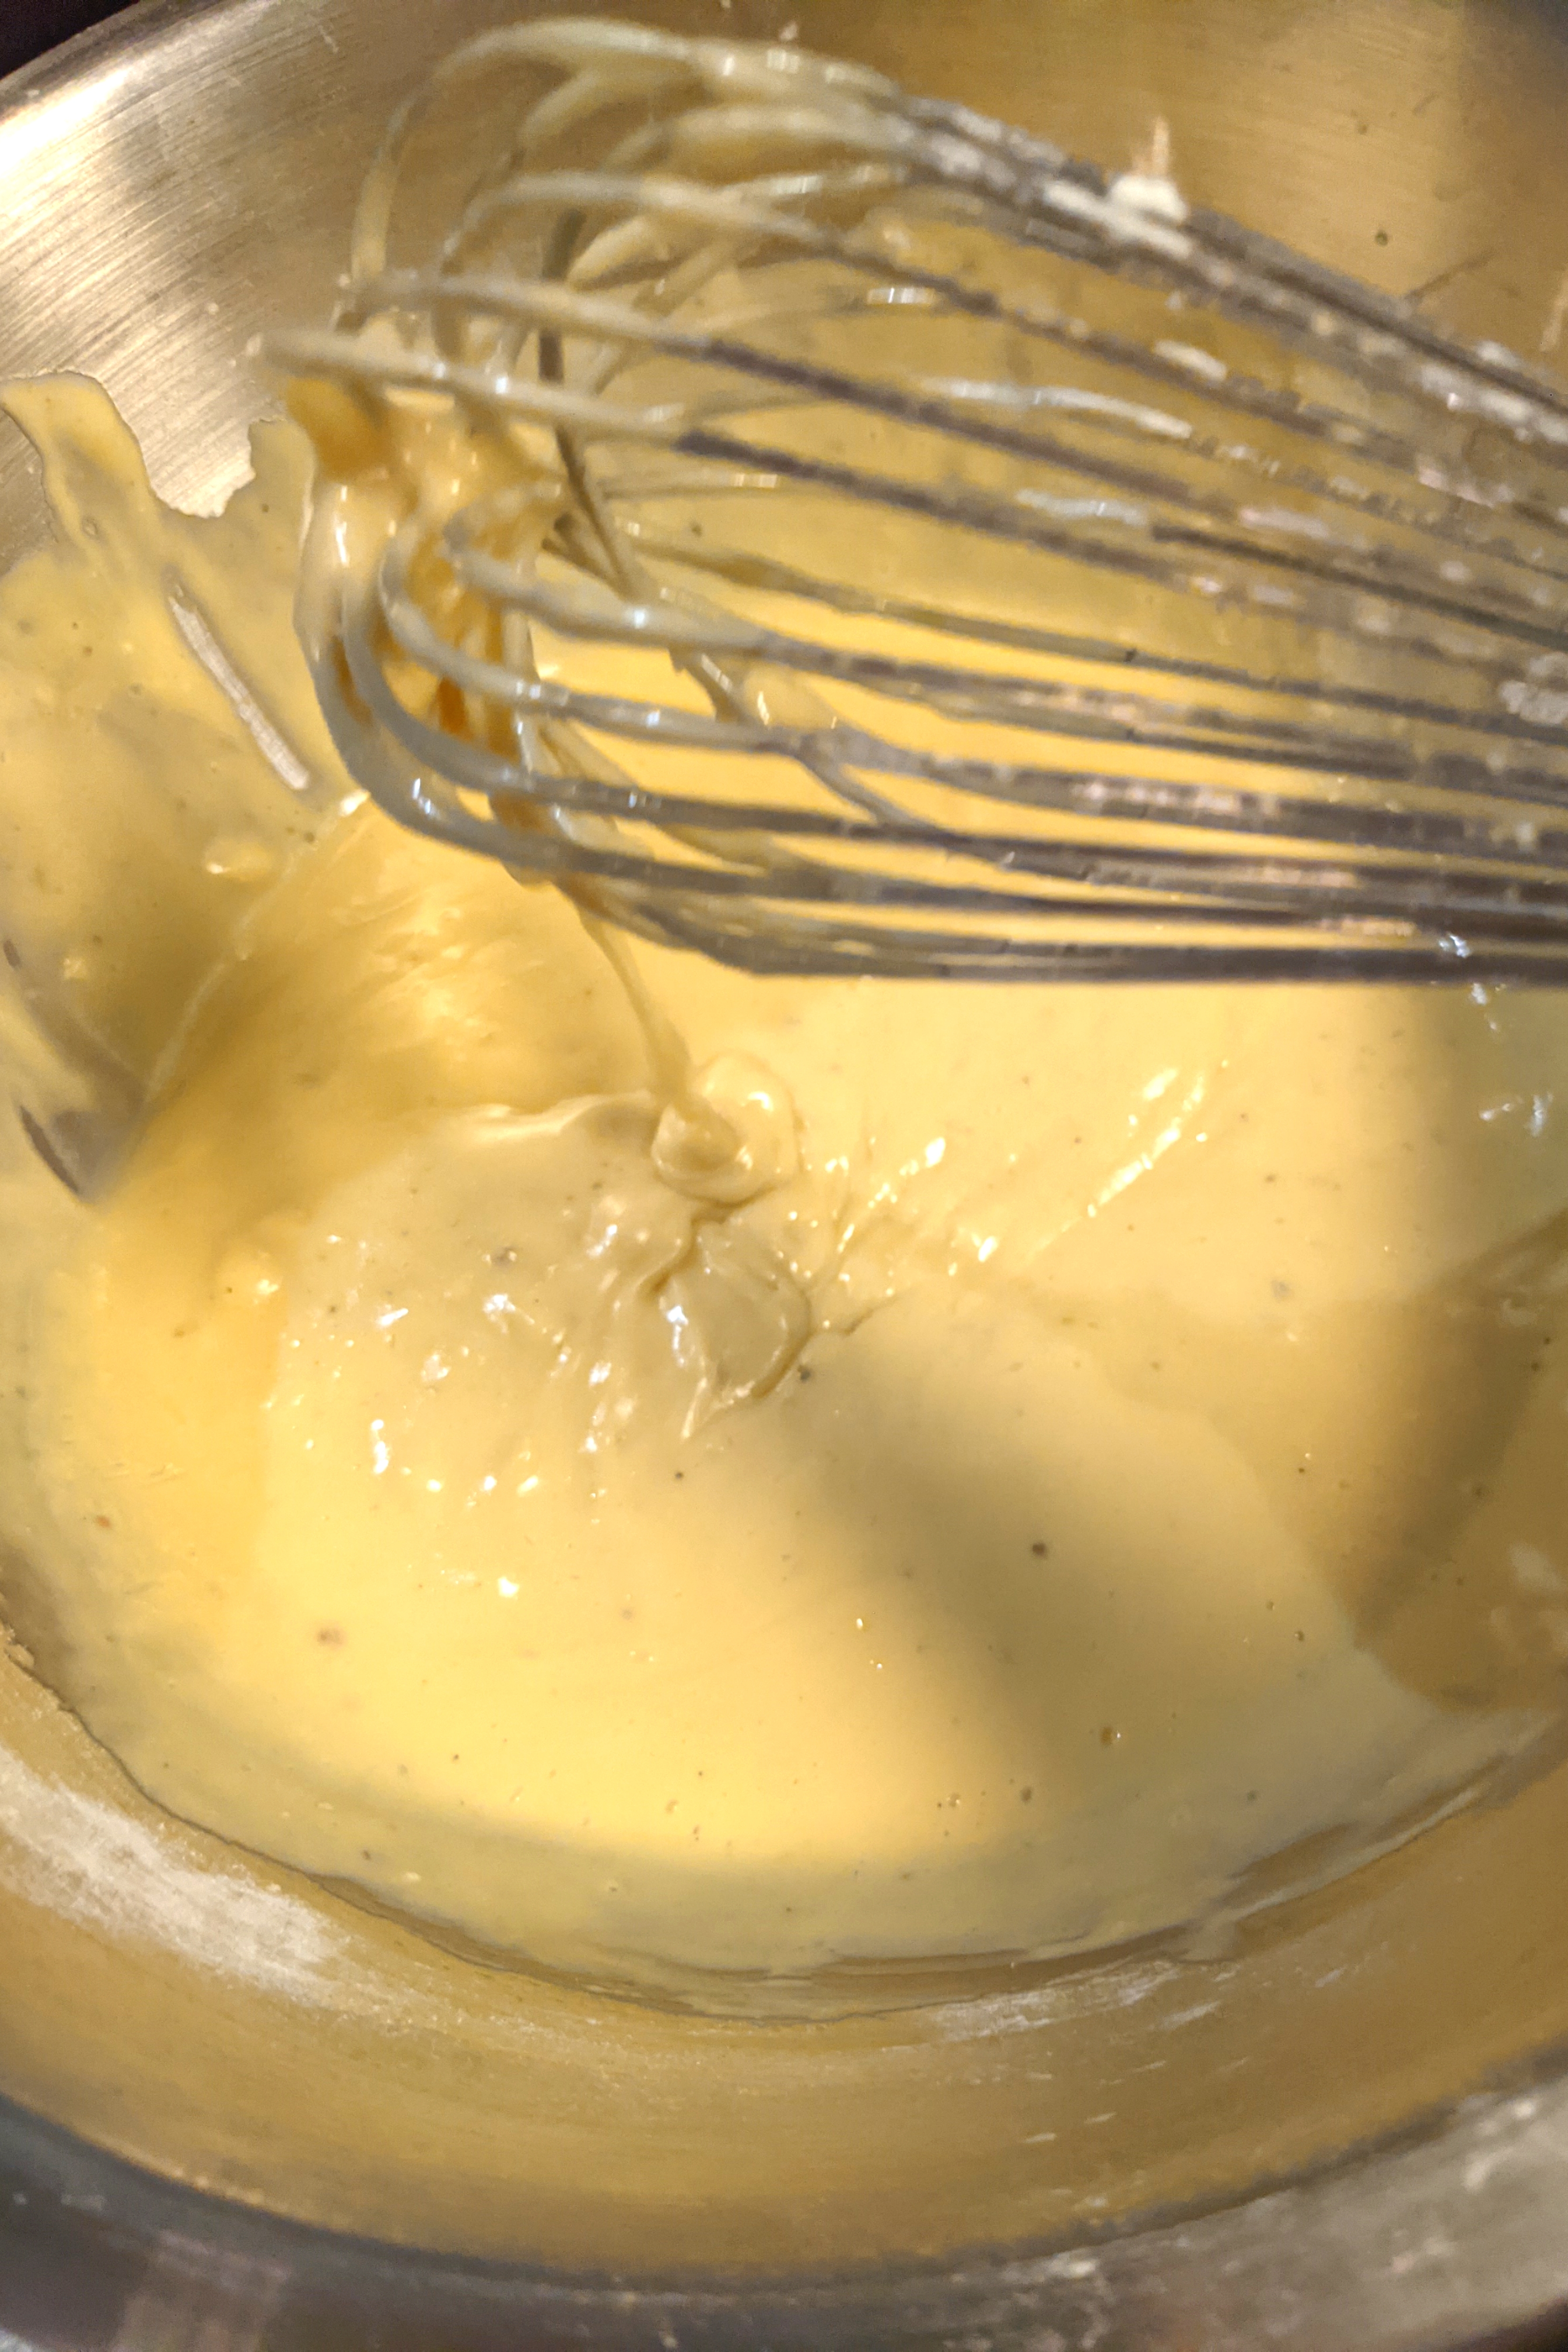
- Using an electric hand mixer (or if you haven’t got one, a whisk, balloon whisk is best) whisk together the sugar and softened butter/margarine into an even fluffy mixture. This is called creaming the fat and sugar together.
- Mix in the egg.
- Shift the flour(s) and baking powder into a separate bowl.
- Add the chopped almonds and cardamom and mix together.
- Stir in the yoghurt.
- Add your flour mix in 2-3 parts mixing vigorously in between so that there are no lumps.
- Spoon the batter into the cake casings, make them about 2/3 full. If you are using plain fairy cake casings, grease them with the fat so that they don’t stick and it might be useful to use two casings instead of one if they are thin casings.
- (Optional step that is an update to the original recipe…) Add a dollop of raspberry jam in the middle of the cake and press it in. The amount will vary based on the size of your cake tins. Bare in mind that if you use a lot of jam it might boil through the side of the cake, which I don’t really mind.
- Bake the tortes in the middle rack of the oven for 20-30min if using large casings or 10-15min if you are making smaller cakes. Check that they are cooked by sticking a cocktail stick or skewer on the thickest bit and see if any batter sticks to it.
- Cool down before decorating, is you used a metal tray, take the tortes off when still slightly warm and place on a rack or plate to finish cooling.
- Once the tortes are cooled, you can drizzle the flavour syrup on the tortes and let them absorb the syrup for several hours or overnight. If you don’t want to use the syrup, you can decorate the tortes when they are cooled.
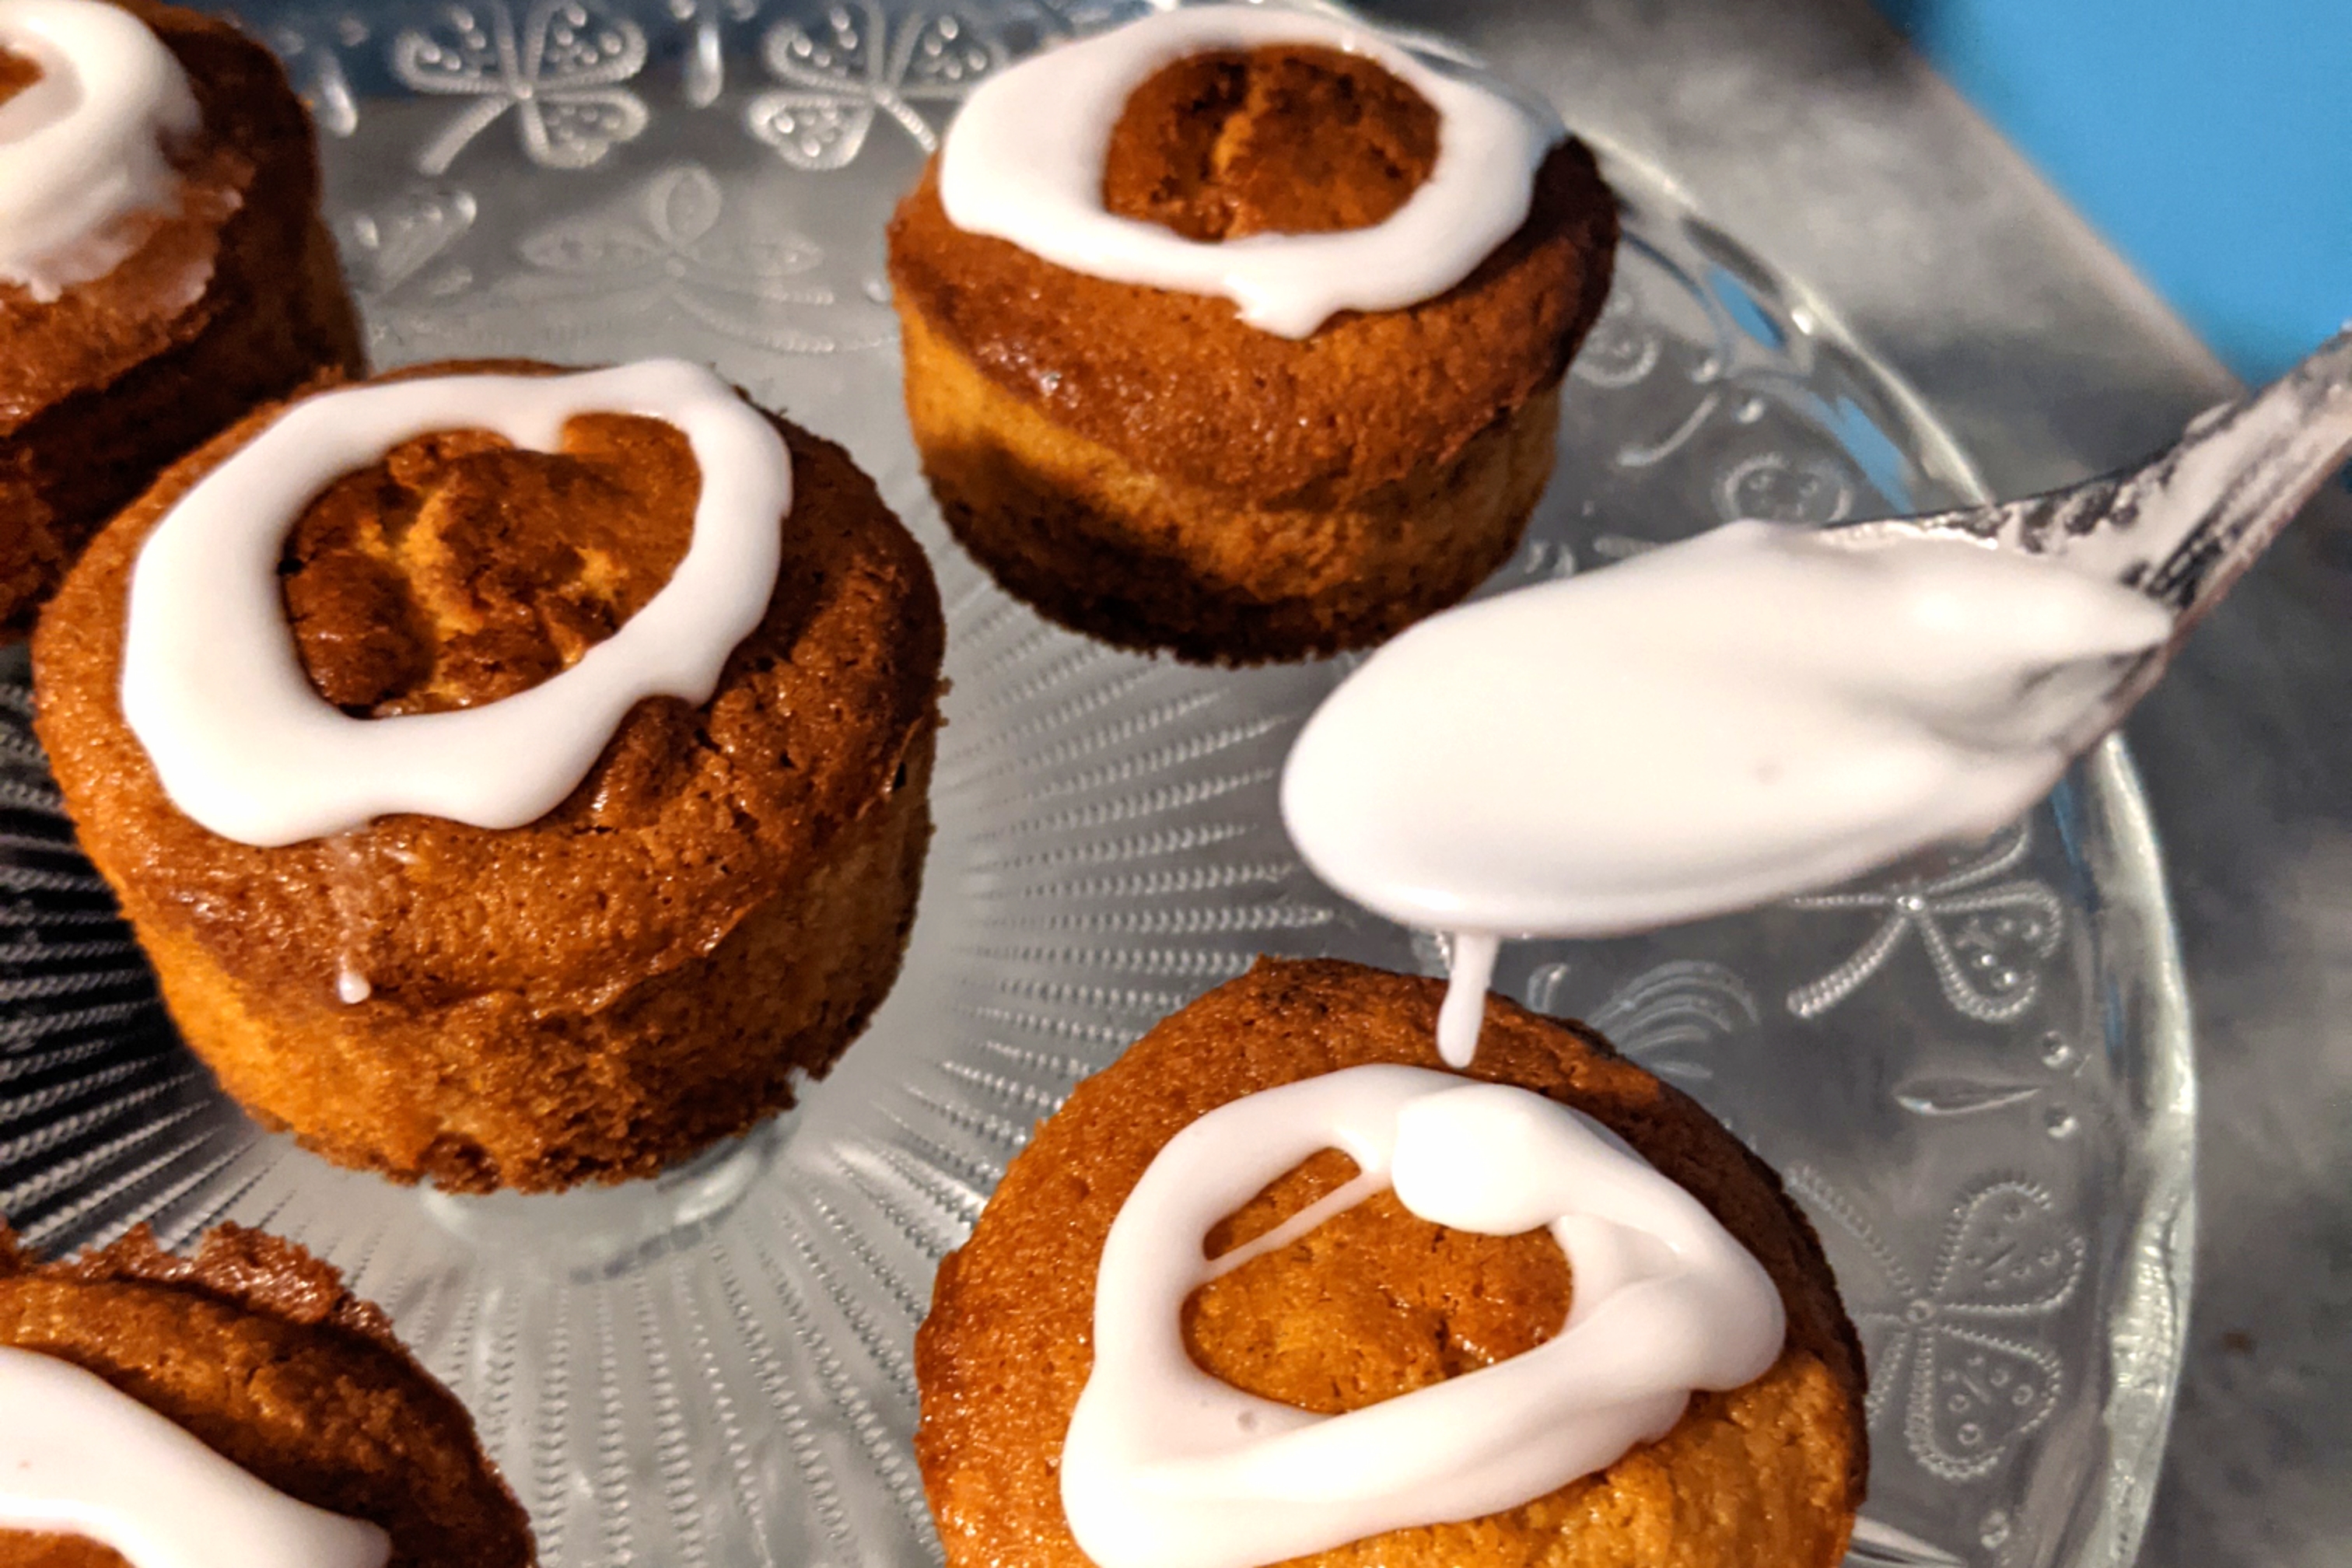
- Make a sugar and water icing by mixing the icing sugar and water. Add the water a few drops at a time and check the consistency. You want the icing to be fairly stiff so that it doesn’t drip, but still a bit fluid.
- Using either a piping bag or just drizzling with a spoon, make a circle on top of the tortes with the icing. If the middle has sunk when cooling, it is handy that you can go round it and hide whatever is underneath then with the jam.
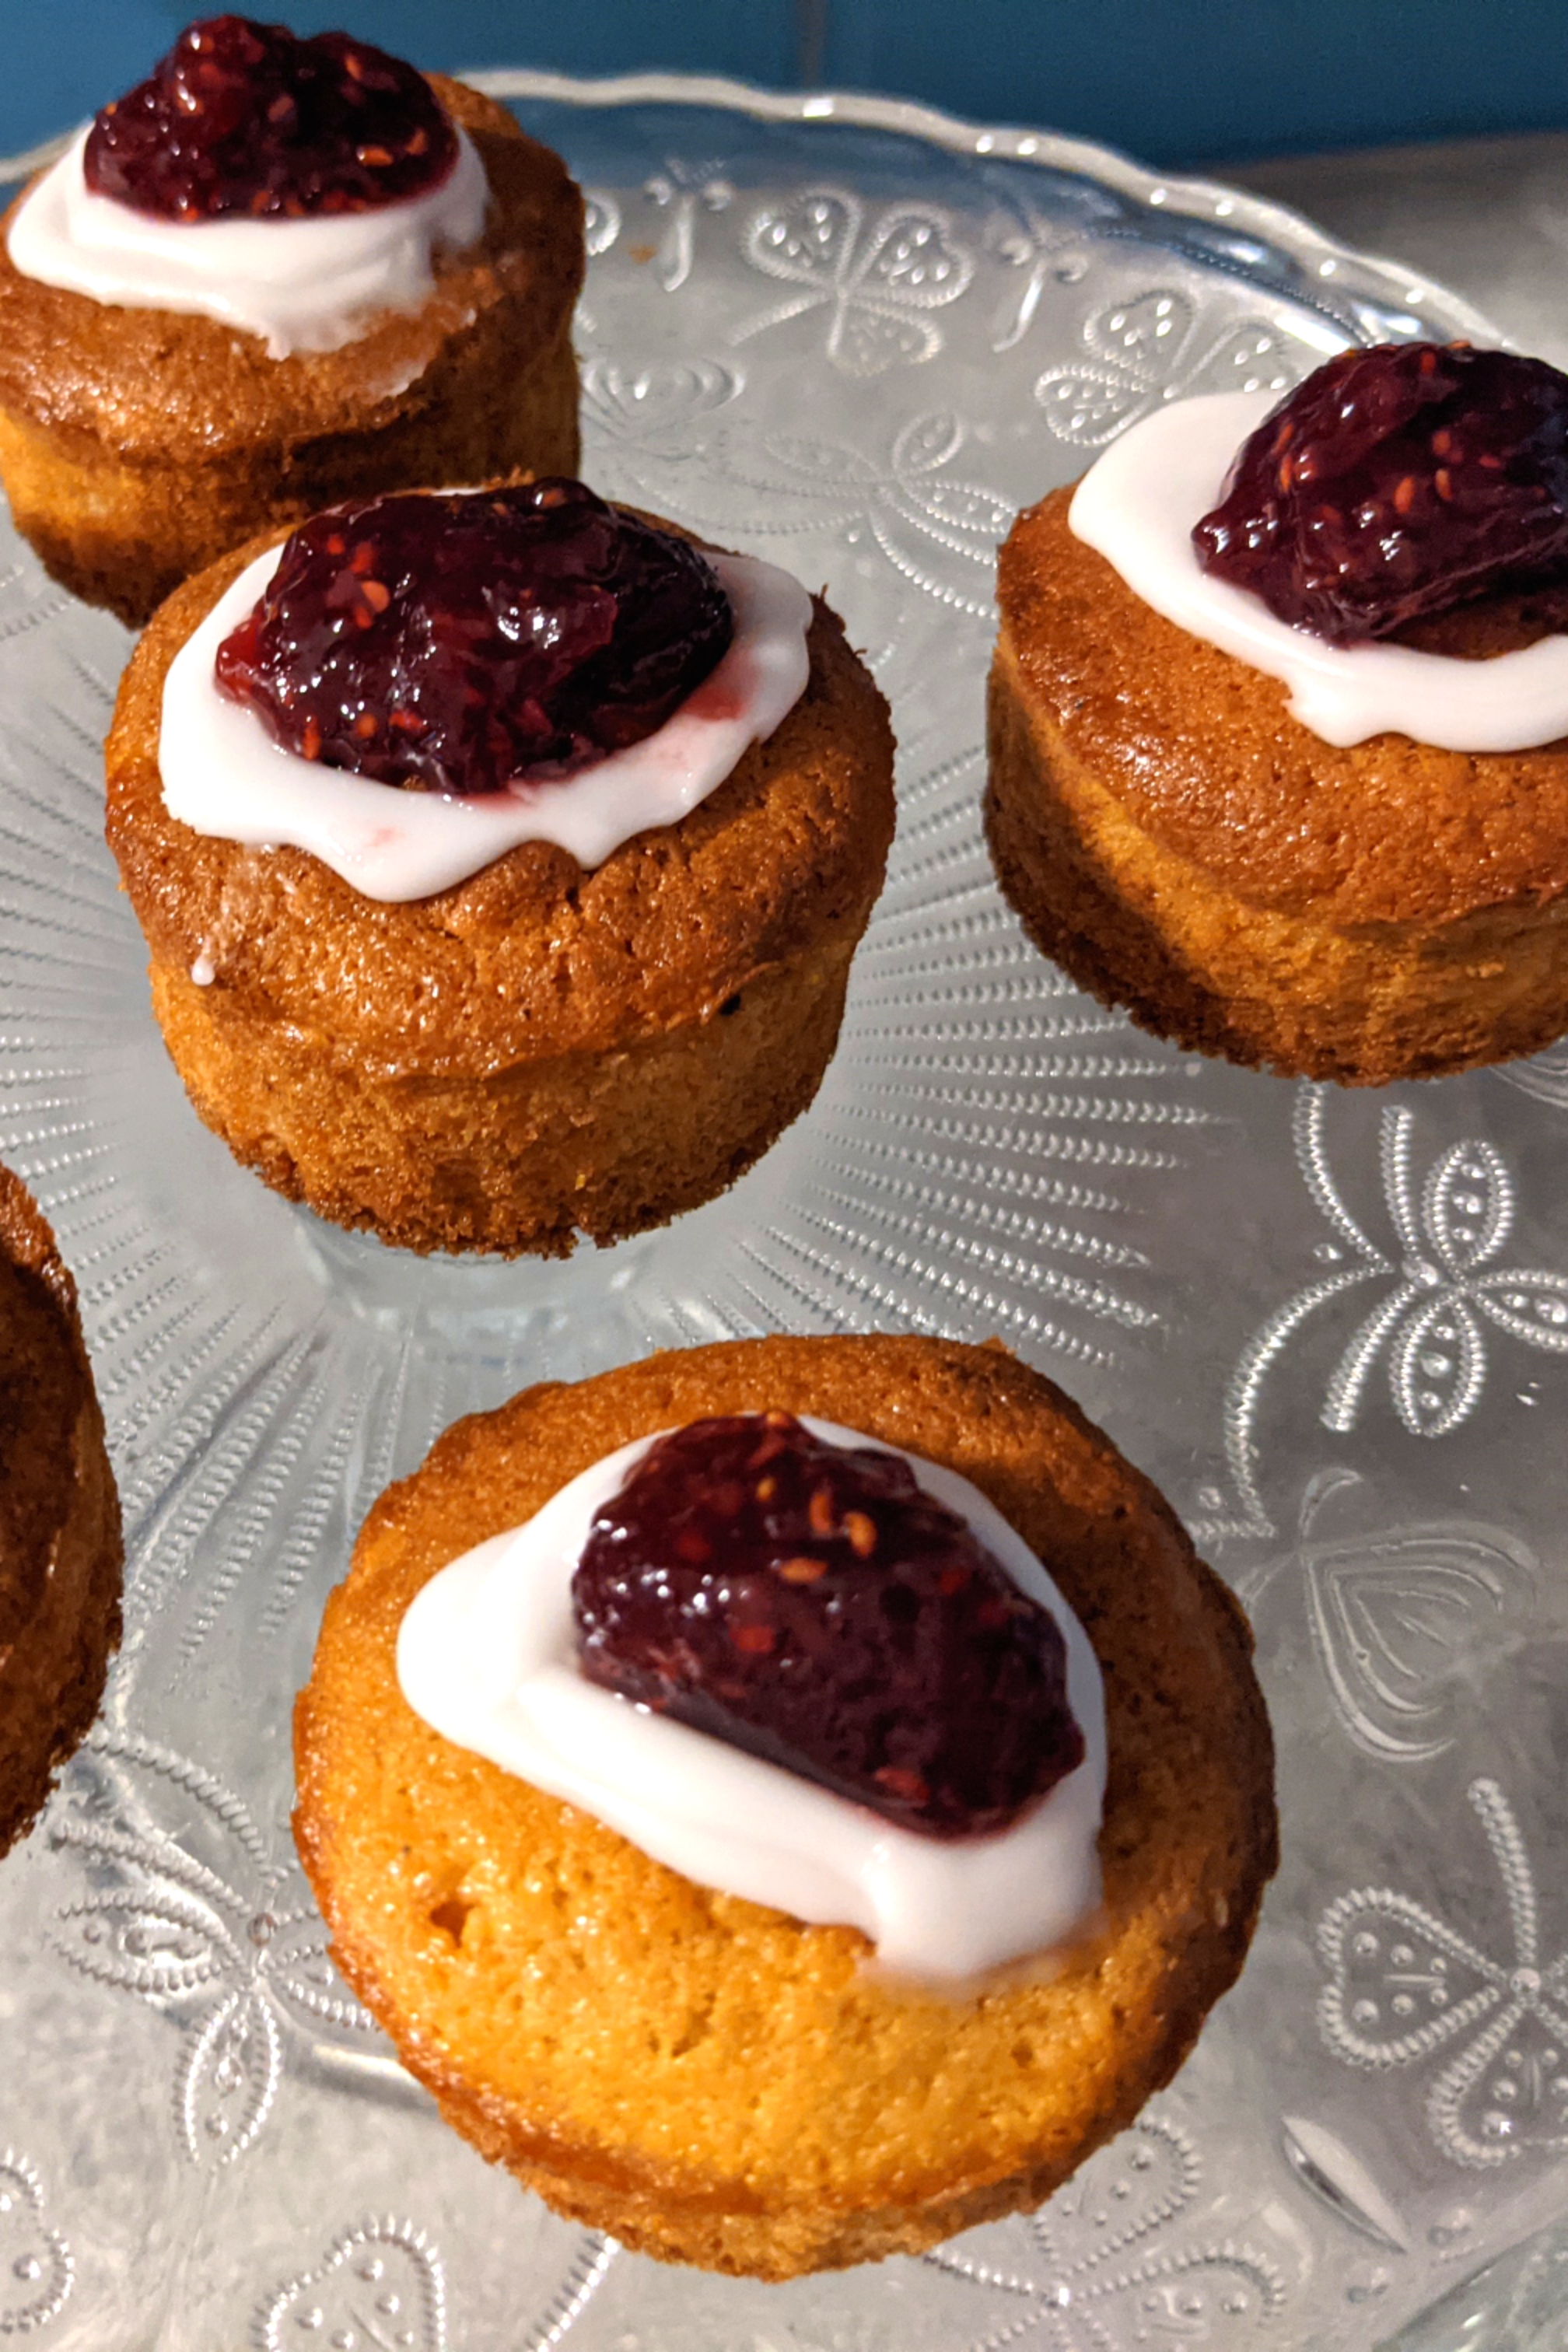
- Add a generous dollop of raspberry jam on top.
- Enjoy with a beverage of your choice (mine is coffee with milk)
I hope you give these a go as they are really tasty and I especially enjoy the crunch of the pieces of almond in the dough. When you make them, do tag me in any Instagram post (@gf_lifetweaks) or come and send me a direct message on my Facebook page (@gflifetweaks) and I can share pictures of your bakes.
If there are any questions or comments about how the recipe works, I would appreciate feedback in the comments, too. Ingredients differ based where you are in the world and I’m happy to troubleshoot and add notes or make adjustments to the recipe where needed. You can also approach me via the social media accounts mentioned above.
If you are keen to learn more baking skills, I now offer Simple and Tasty Gluten-Free Bread course for newbie gluten-free bakers or people who want to learn the basics in a quick way. See details of the course here.
Happy baking!
