
In Finland, where I was born, there’s food tradition of pies with thin rye crust and filled with either rice porridge, mashed potato or a carrot&rice filling. These are typically had in family gatherings, parties etc. as small savoury bites or in larger size as a savoury snack or even lunch when you top with cheese, cold meats etc. The most traditional topping is however egg butter, boiled eggs mixed with butter.
I don’t really miss that many gluten-containing foods, just because they make me so I’ll but I have missed the flavour of rye and these pies. I finally managed to try and make them with buckwheat and was quite happy with the result. I chose to fill these with mashed potato, but you can also cook a thick rice pudding with milk or milk alternative and regular white or pudding rice to make the rice-filled version.
There’s a bit of a process to making the pies, the most important bit being the creping of the edges, which is an art in itself. Hence I have added step by step pictures to help you along.
Traditional Finnish potato pies with buckwheat (GF) recipe
The recipe is what I think of the Finnish equivalent for the Women’s institute, Martat. You can find the original recipe in Finnish here for the gluten-free Karelian pies. As said, I substituted the original filling of rice porridge with potato mash, but I will give the recipes for both fillings here. Being a Finnish recipe, we are operating with SI units, so have your dl measures at hand…
You need to make your fillings ready before you make the casings, because the casings will dry out easily and you need to be quick, hence I have given the recipes for the fillings first.
Ingredients
Potato mash filling
- 1.5 l peeled potatoes (King Edward, Maris Piper or other mashable potato)
- 1l water
- 1-1 1/2 tsp salt
- 3-4 dl milk or cooking liquid if doing milk-free
- (50g butter)
Method:
Add the peeled and quartered/diced potatoes into boiling, salty water. Boil under a lid for appr. 20min until soft. Remove the cooking liquid, if you want to use it to make the mash, put it to one side. Using a masher or pass through a sieve, mash the potatoes. Add milk or cooking liquid until the consistency is smooth and soft but holds together. Add some butter and mix it through when melted for a richer mash.
Rice porridge filling
- 2 1/2 dl water
- 2 dl rice (pudding rice or regular white rice)
- 7 1/2 dl milk
- 1/2 tsp salt
- 1 egg
Method:
Add the rice into boiling water and cook for 10 minutes. Add the milk and let simmer for 30min stirring occasionally making sure you reach the bottom so that it doesn’t catch. (If possible I’d make the porridge in a slow-cooker, or use a tiered saucepan or heat distributor plate under the saucepan if using a gas hob, which tends to give quite intense heat.) Let simmer on a low heat under a lid for extra 10min. Season the porridge with salt and cool down. Mix the egg through to the cooled porridge.
Wash for the pies:
- 50 g butter
- 2-3 dl boiling water
Mix together the water and butter in a bowl to dip the finished pies in (can be prepared when the pies our out of the oven).
Pie casings
- 2 dl cold water
- 2 tbsp oil
- 1/2 tsp salt
- 2 tsp psyllium husk
- 3 dl (appr.) buckwheat flour
Method:
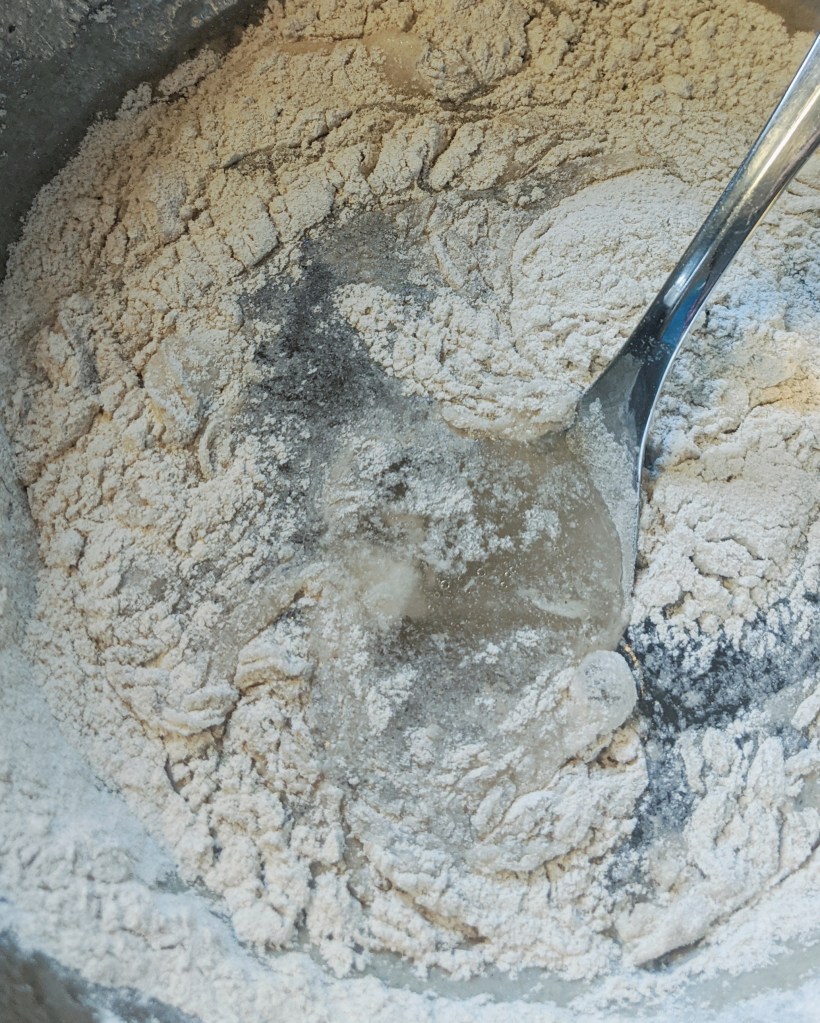
Mix the salt, oil and psyllium husk into the water. Let the mixture absorb the liquid for 5min. Add the buckwheat flour gradually while mixing with a spoon or by hand until you have a smooth firm dough.

Method for making the pies:
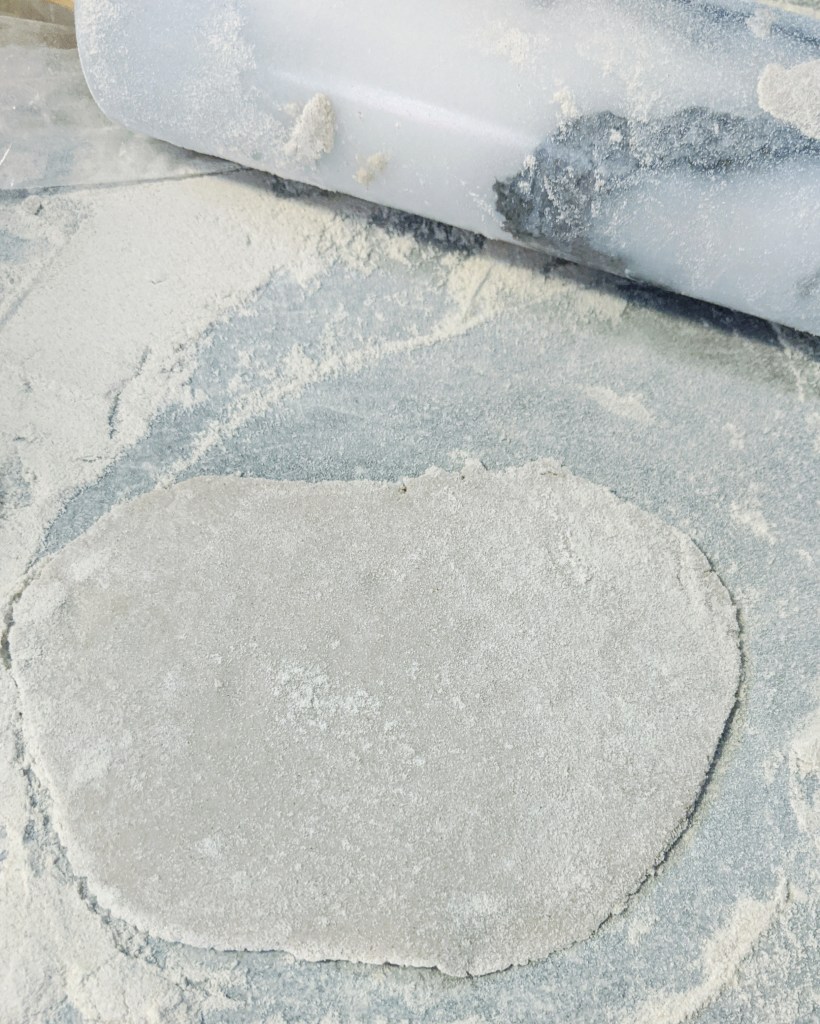
- Sprinkle your worktop with buckwheat flour (you need to have at least the amount you used for the dough at hand for the making of the pies). Tip the dough on the table, sprinkle with flour and roll into a 5mm thick sheet. ) See Picture 1.
- Using a glass (flour the rim) to press out circles from the dough. See picture 2.
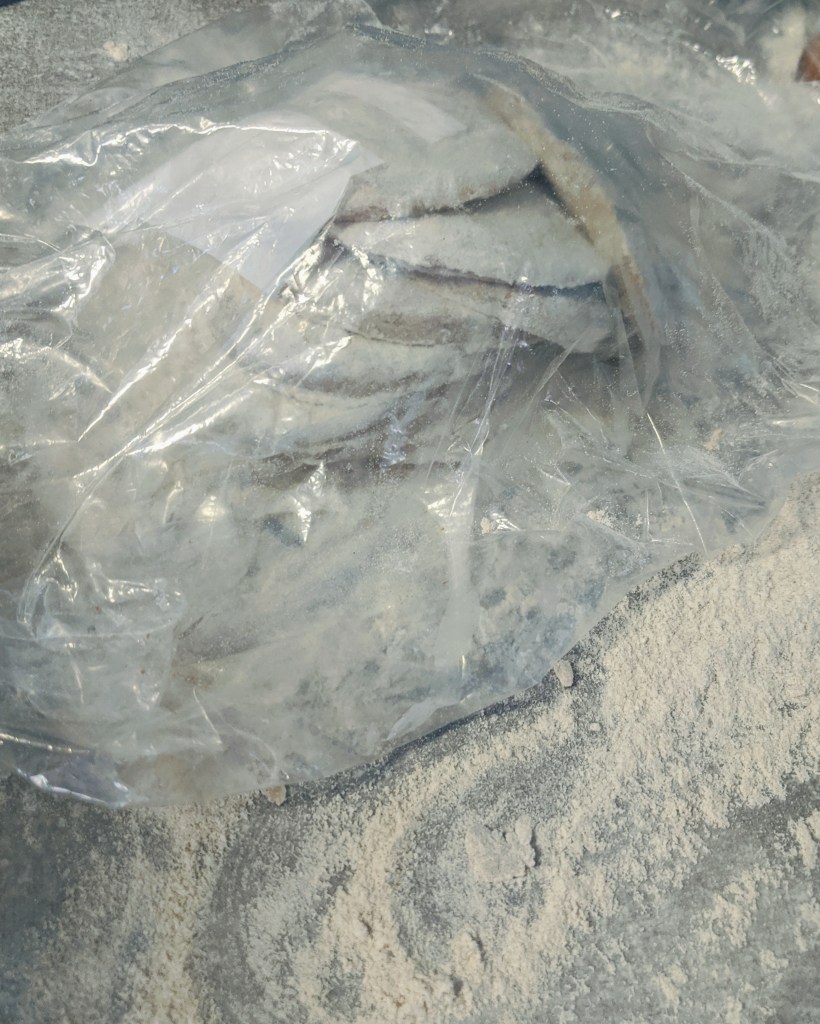
- Place the circles in piles of six with a heavy sprinkling of buckwheat flour to keep them from sticking into piles of six and cover with plastic bag or a bowl to keep them from drying out. See picture 3.
- Roll the circles into as thing oval or circle disks as thin as you can (1-2mm) using a rolling pin or a special wooden roller (or one that is used to roll our dumblings etc.) or pasta machine. Set on one side in piles with buckwheat flour springled in between to prevent sticking and cover again to avoid drying out. Fill the casings as soon as possible so that they don’t stick to each other. See Picture 4.
- Take a casing and add a spoonful of the filling in the middle of the casing. Spread into a 1cm layer and leave a 1cm edge without filling. See picture 5.
- Fold the edge of the pies toward the middle and starting from one end, crease the edge using your forefingers (push lightly down and in, sort of pinching the dough). See picture 6.
- Move the pies on to a baking tray on top of non-stick baking paper (or oiled greaseproof paper is you haven’t got any).
- Bake in a 275-300C oven for aprroximately 15 minutes. Be mindful of the baking paper so that it doesn’t catch fire in the hot oven, keep it away from any heating elements.
- Wash the pies with the water and butter wash. See picture 7.
- Stack the pies on a tray or bowl and cover with a cloth. See picture 8.


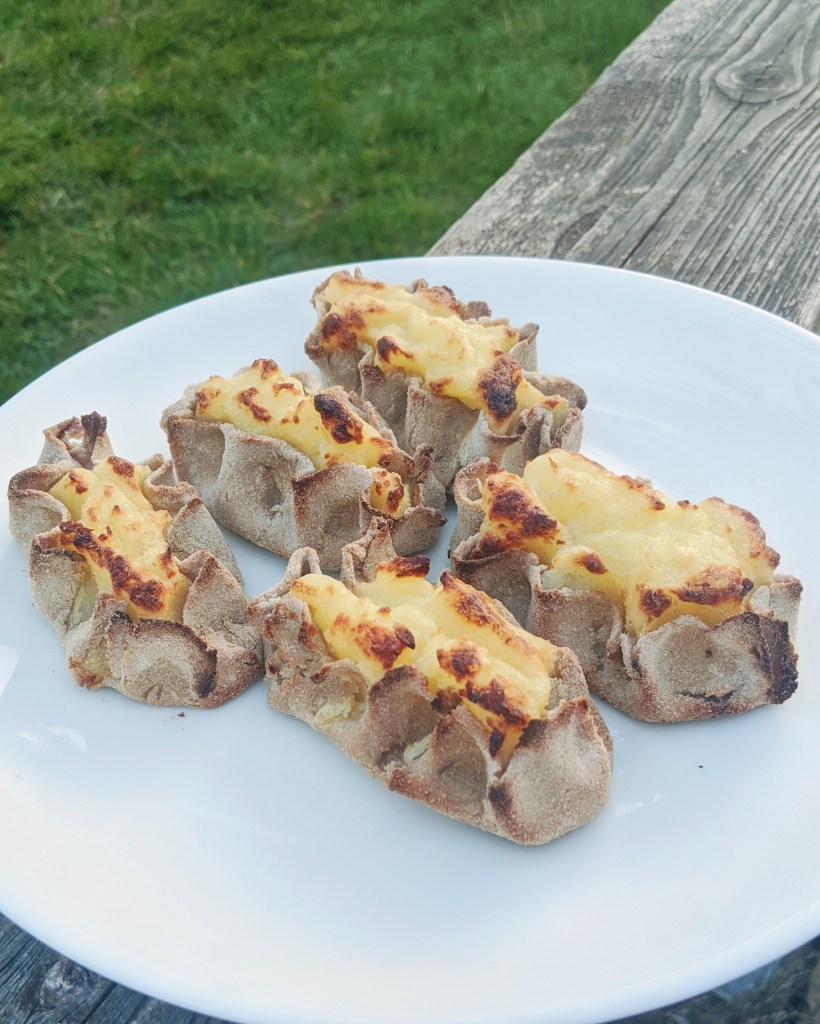
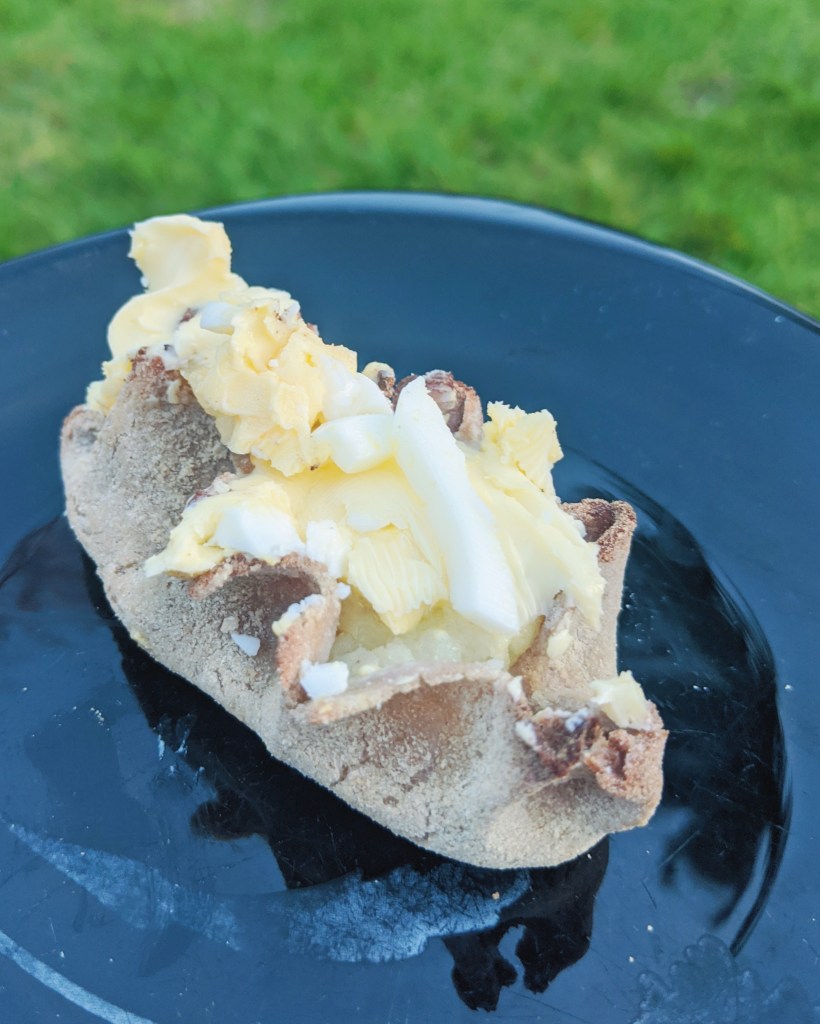
If you want to enjoy the pies with the original topping of egg butter, soften approximately 200g of butter and hard-boil an egg. Then mush the peeled boiled egg into the softened butter. Season with salt if the butter isn’t salted. Spread generously on top of the pie and enjoy!

What do you think, is this something you’d like to have a go at? Don’t be intimidated by the many steps, when you get the hang of things they are actually quite quick to make and you have learned a skill that not that many knows. And you have a show stopper for your gluten-free repertoire! Any questions, I am more than happy to answer them, I love spreading Finnish food culture a little bit further!
