Welcome to my blog ‘Making lifetweaks’. The goal of my blog is to help you manage your every day with more calm, sense of direction and breathing space, whether you are living your life with coeliacs disease, like me, or not.
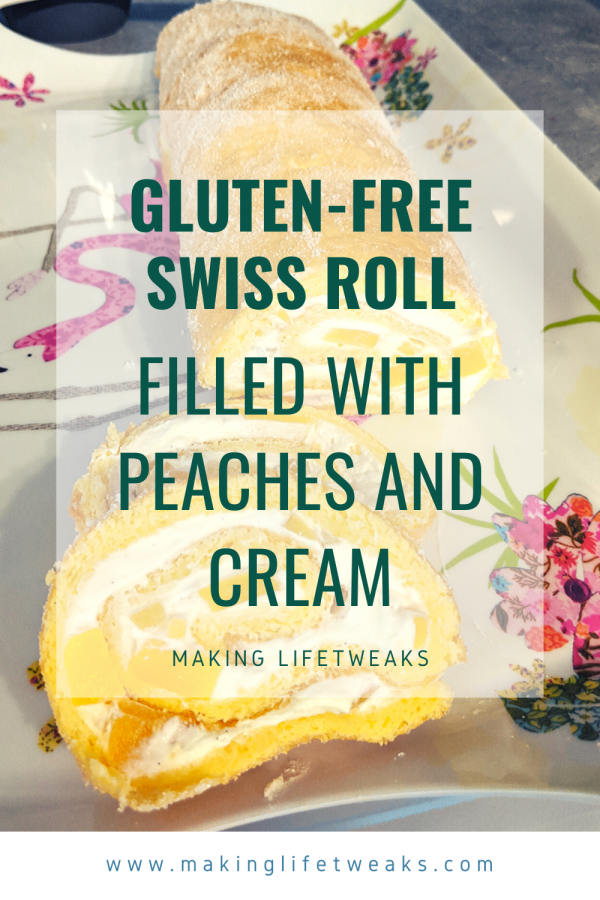
I wanted to start my blog with something very tangible that you can use straight away. What would be better than a sweet bake that is easy enough to do, even if you haven’t baked at all before. Also, a Swiss roll actually turns out airier and fluffier when made from starchy flours so the fact that it’s gluten-free will do nothing but enhance it and you can enjoy the recipe, even if you don’t need a gf diet yourself. Baking and cooking your own things will in the long run save you money, make you more aware of the things you eat and even give you a nice hobby if you learn to enjoy it at least a bit.
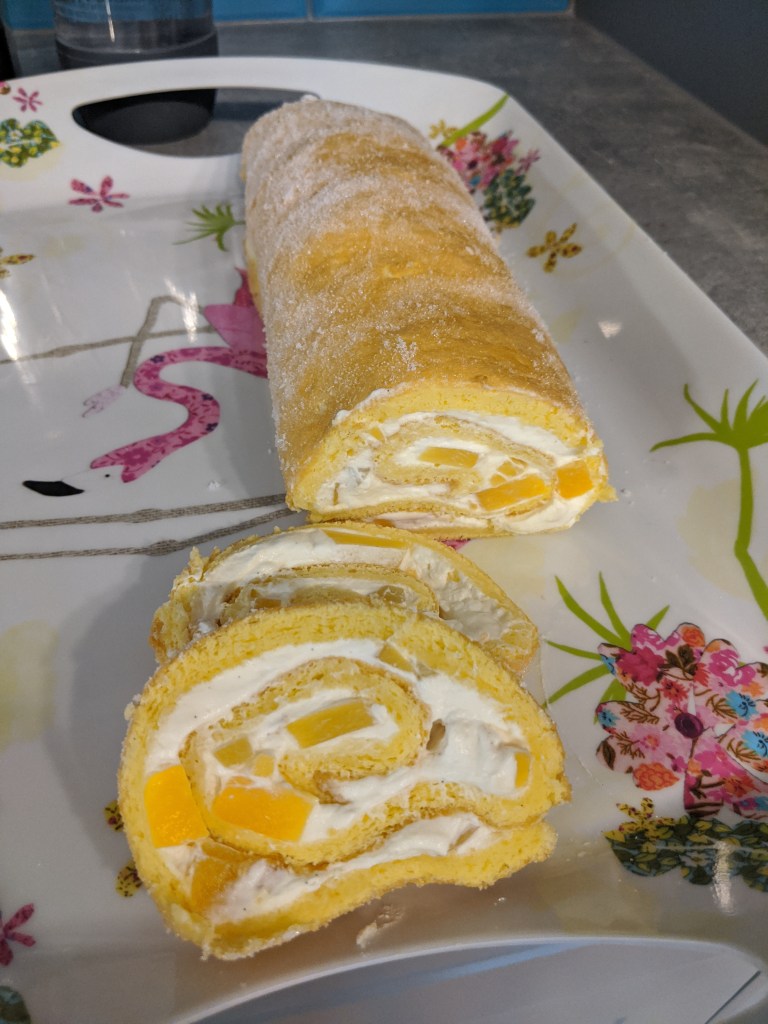
The Swiss roll is a nice cake in the sense that when you have the basics down, you can change up the fillings according to the season and special diets easily and you can also coat and decorate which any way you like to make the roll into a cake or individual plated desserts. To this one I chose tinned peaches and whipping cream because during winter months at least here in the UK the imported berries aren’t maybe the best they could be and I’d prefer to use what’s in season. It’s also a combination that I have learned to love since I was a child.
I will add a step-by-step picture guide to help you, if baking or making a Swiss roll is new to you, but you can also just read the recipe and get on with things if you are a seasoned baker.
Recipe and step-by-step guide:
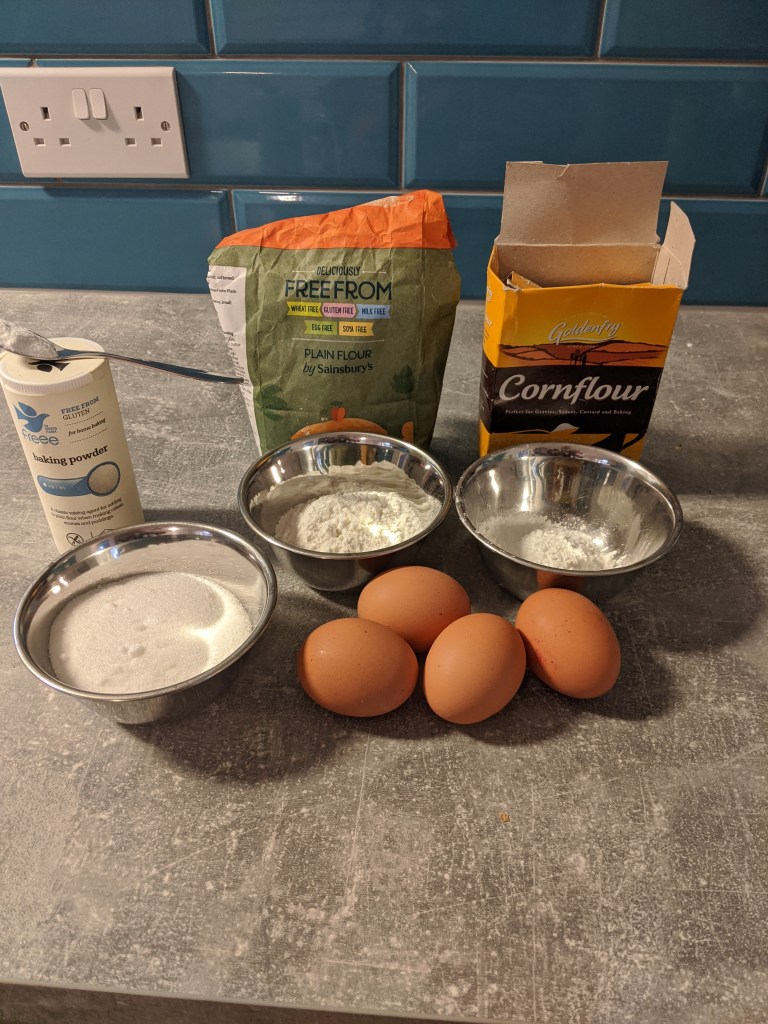
Ingredients (cake):
- 4 eggs (room temperature)
- 1 1/2 dl sugar
- 1dl gluten-free plain flour
- 0.5dl corn flour
- 1tsp gf baking powder (leave out if using self-raising flour mix)
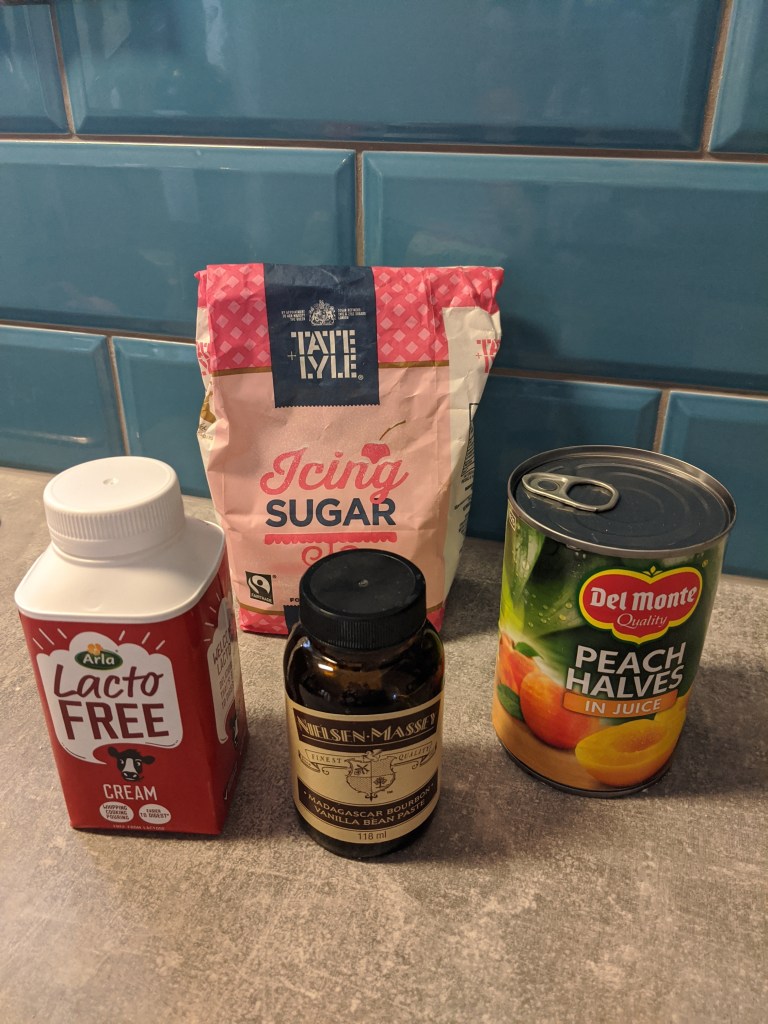
Ingredients (filling):
- 1 tub/bottle of whipping cream (I used lactose-free) or double cream
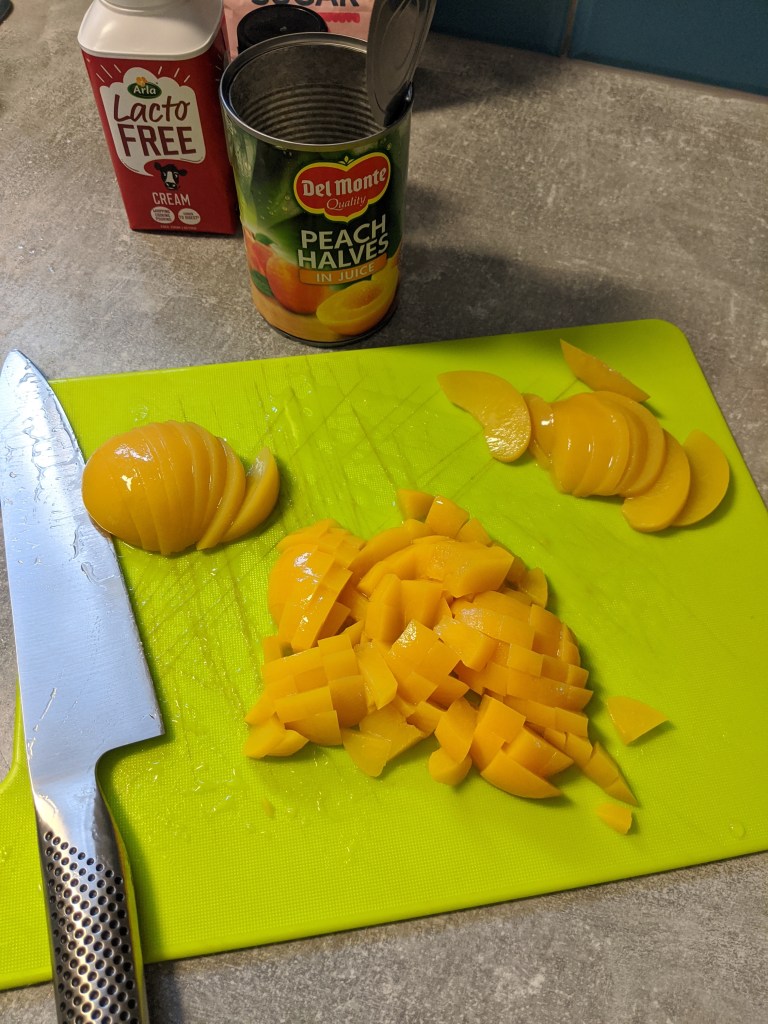
- 1 tin of whole peaches preserved in juice
- 1/2 tsp of vanilla paste or vanilla extract
- 2 tbsp of icing sugar (or caster sugar)
If you want to coat the roll to make it in to a cake, double the amount of cream, sufar and vanilla.
Method:
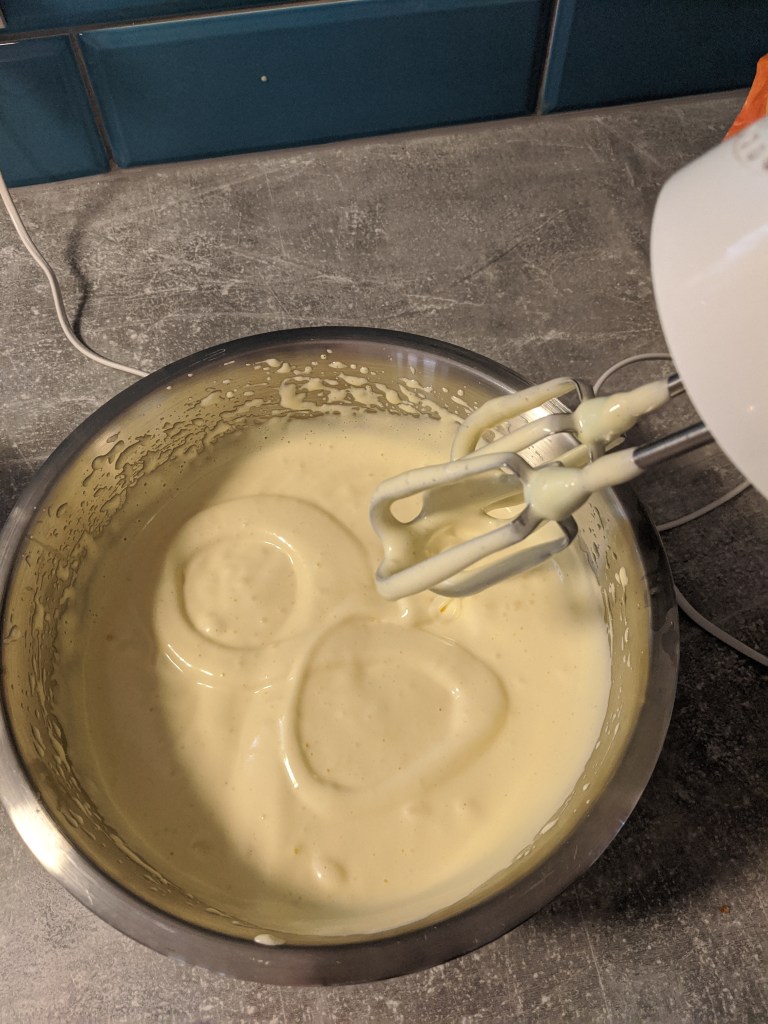
- Whisk the eggs and sugar into an airy white foam (so that the foam holds the figure eight you make on it).
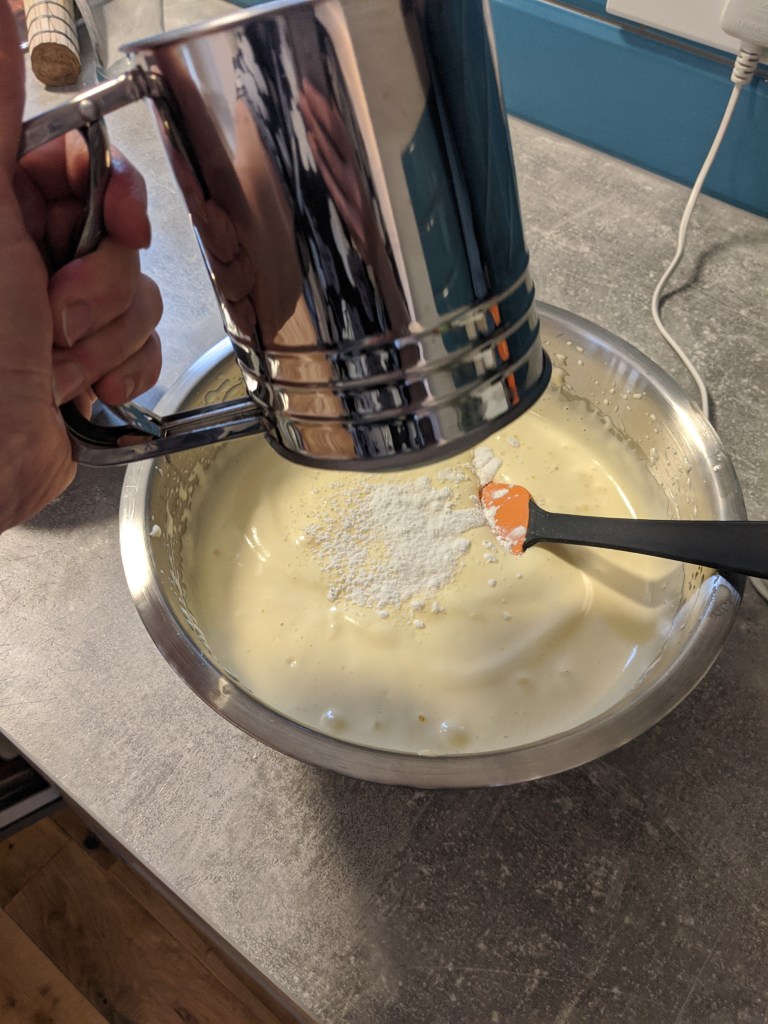
2. Combine the dry ingredients and shift them in the foam gently folding in.
3. Pour the batter on to a deep baking tray that has been lined with non-stick baking paper. Use a spatula or a pallette knife to even the batter out into a layer of about 1/2 inch (10-12mm).

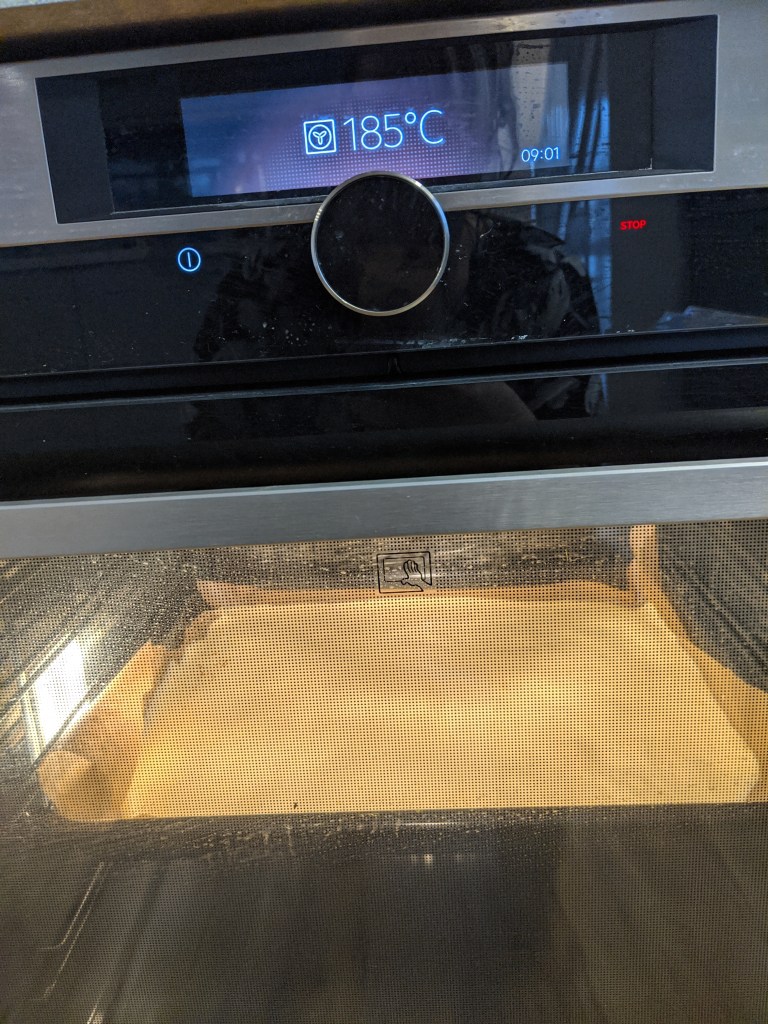
4. Bake in a 200C/(185C fan assisted) oven for appr. 8-10min until golden brown.
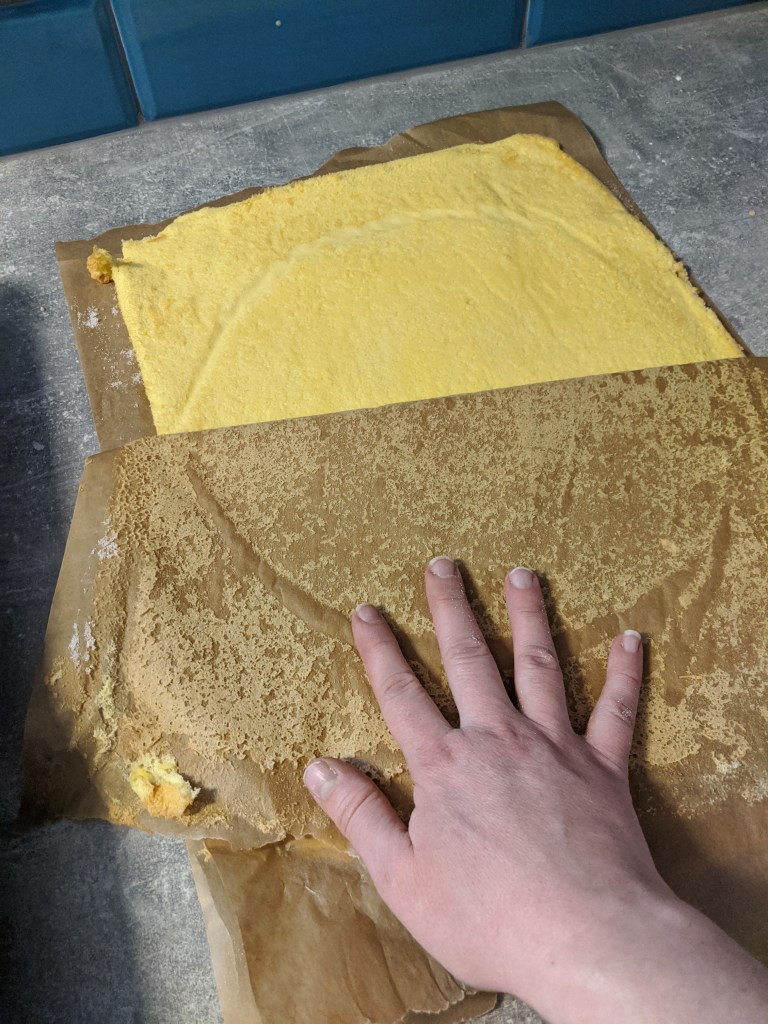
5. Turn the cake onto a baking paper that’s been covered in caster sugar.
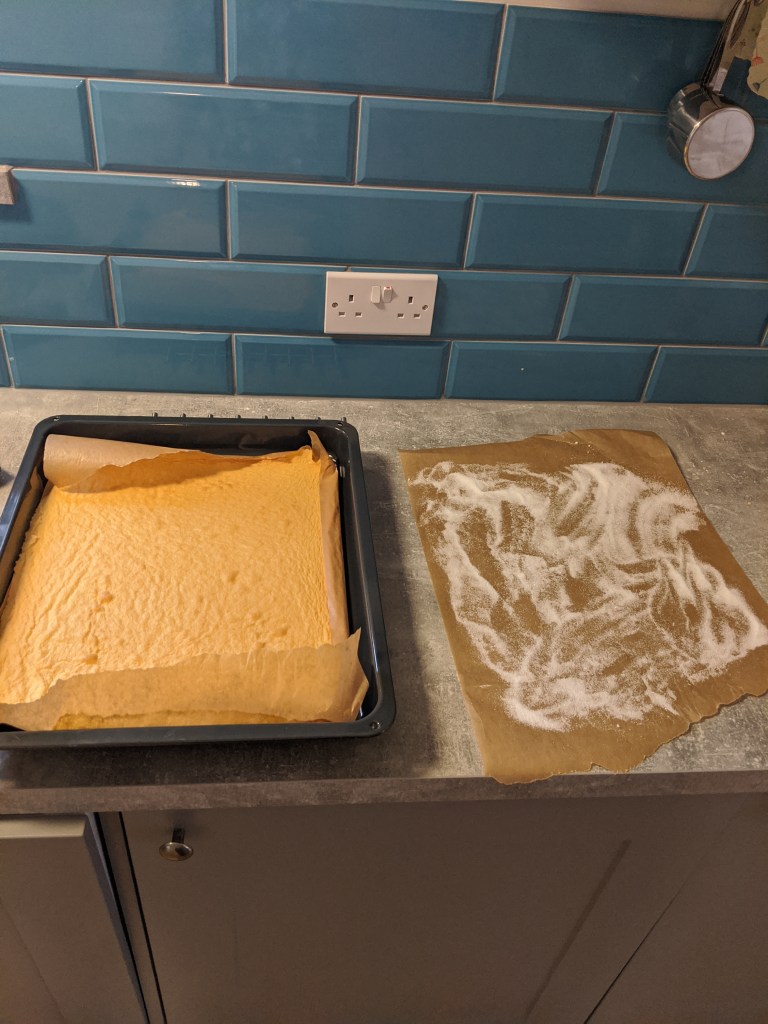
6. Carefully peel away the baking paper from the cake (pull along, not up).
7. While the cake cools down, whip up the cream. I like using an electric hand whisk for I think it gives best control of the end result and I just don’t want to spend the time whipping cream by hand with a ball whisk (it can be done, if you haven’t got an electric one). Start by pouring the cream into a rather wide large bowl and then add the sugar in the cream, it will dissolve any lumps, and the vanilla.

8.Start whisking with the lowest setting and speed up when the cream starts to turn into a foam. Be very careful as the cream starts to firm up and lower the setting. You need a firm whip with distinct peaks so that it doesn’t ooze out of the roll, but taking the cream too far so that it splits into butter can happen really quickly so rather leave it a tad too soft than go over.

9. Cut the peaches in to small cubes. If you want, you can leave a few halves for decoration and cut them into slices or what you like. If you want to coat the Swiss roll completely with cream, you need to double the amount of whipped cream you are making.
10. Mix the pieces of peach into the cream (I ended up using all the peaches and the cream in the filling). Spread an even layer of filling onto the cake.
11. With the help of the baking paper using both hands, roll the cake from the shorter edge to form the Swiss roll. Turn the seam to the bottom.


You can coat the roll with whipped cream or ganache or whatever you wish or serve it as it is. Trim the ends before serving. You can also cut into pieces and make individual little cakes by topping the slices with cream, fruit etc.
